Description
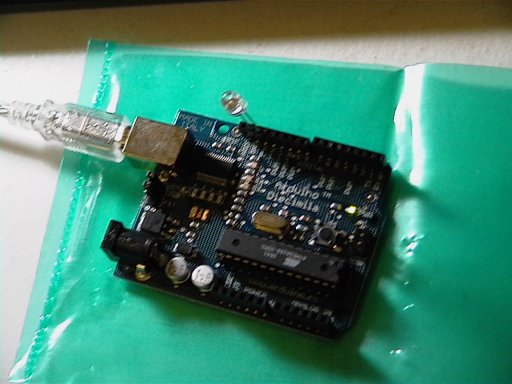
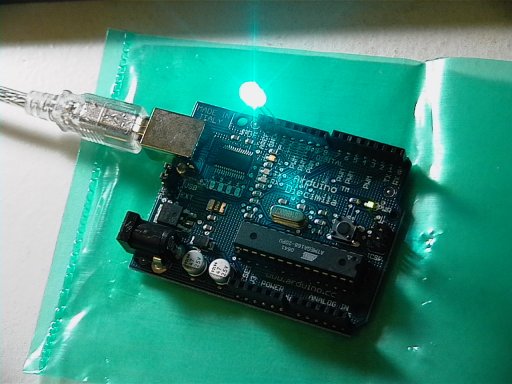
For this project, I used Arduino 0009 software to compile a simple LED-blink code, which was then uploaded via usb to an arduino board. An LED light was then inserted into pin 13 on the Arduino (which, on my version of the board, is equipped with a 1k resistor). I didn't skip this step because... I have no breadboard. The lab was a success. I changed the duration of the blink a bit, opting for more dark time than light time; the LED was really bright.
Code
int ledPin = 13; // LED connected to digital pin 13
void setup() // run once, when the sketch starts
{
pinMode(ledPin, OUTPUT); // sets the digital pin as output
}
void loop() // run over and over again
{
digitalWrite(ledPin, HIGH); // sets the LED on
delay(1000); // waits for a second
digitalWrite(ledPin, LOW); // sets the LED off
delay(3000); // waits for 3 seconds
}
Visual Evidence
LED off: in a former life, I was also a terrible photographer

LED on: fun stuff


Comments
feedback
looks great! congrats! please add a section with the components used for future reports.