Assignment: Introduction to Arduino and Physical Computing
Collaborators:
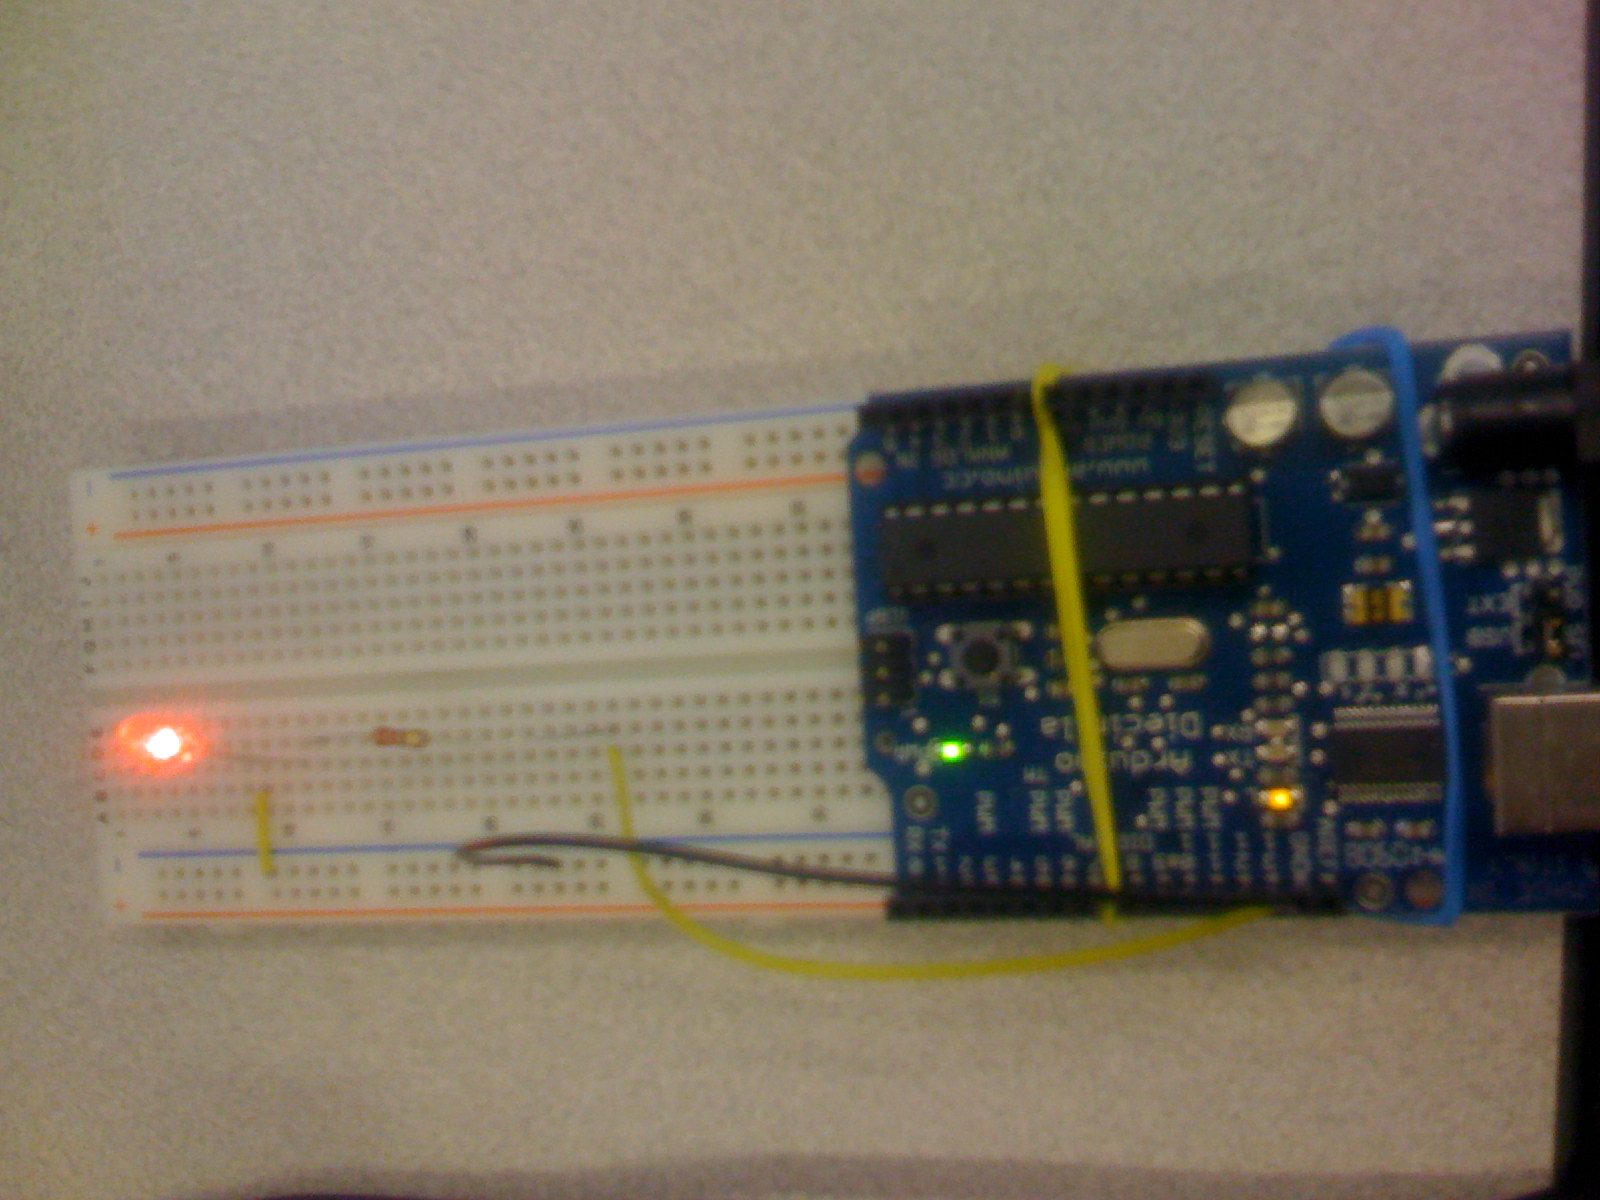
Use arduino board to control an LED and make it blink.
/*
 * Blink
 *
 * The basic Arduino example.  Turns on an LED on for one second,
 * then off for one second, and so on...  We use pin 13 because,
 * depending on your Arduino board, it has either a built-in LED
 * or a built-in resistor so that you need only an LED.
 *
 * http://www.arduino.cc/en/Tutorial/Blink
 */

int ledPin = 13;                // LED connected to digital pin 13

void setup()                    // run once, when the sketch starts
{
  pinMode(ledPin, OUTPUT);      // sets the digital pin as output
}

void loop()                     // run over and over again
{
  digitalWrite(ledPin, HIGH);   // sets the LED on
  delay(5000);                  // waits for 5 seconds
  digitalWrite(ledPin, LOW);    // sets the LED off
  delay(500);                  // waits for 0.5 second
}
Note: changed delay times to make blink duration longer.