Assignment: DC Motor: Actuation Assignment 1
Collaborators:
Description
For this lab, I started off doing one thing, but ended up changing direction because of physical limitations of the DC motor. At first, I wanted to make a rolling container that changed speed depending on the light input from a light sensor. Although I had the code working, all the components in the container (all the batteries I used) proved to be too heavy for the wee DC motor to move.
For this project, I wanted to have everything contained in the container without the need of a PC. I used an external, standalone USB power source to power the aduino in addition to the battery pack for the additional power used to run the DC motor. I used a smaller breadboard to fit into the smaller container, and "piggy-backed" the arduino to it.
Instead of my original idea of having the DC motor try to move the container, I had it vibrate depending on the lighting conditions. And thus, the buzzing container. If the container was closed (i.e. no light), it would be still. Once the lid was open, the container vibrates vigorously, moreso depending on the intensity of light. If all these components were miniaturized even more, it could help foods from being spoiled. For example, if a easily spoiled product container was open and left on the counter, it would begin to shake and vibrate, reminding the owner to put it away.
Components Used
Images

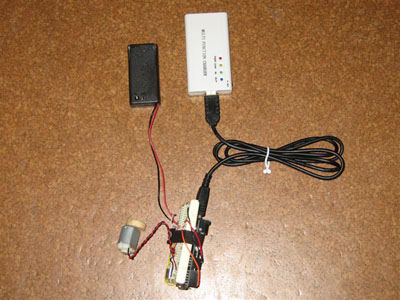
Here are the inner components of the container. Starting from the top and going clockwise: 3v battery pack, 5v USB battery pack, arduino ng attached to breadboard, dc motor.
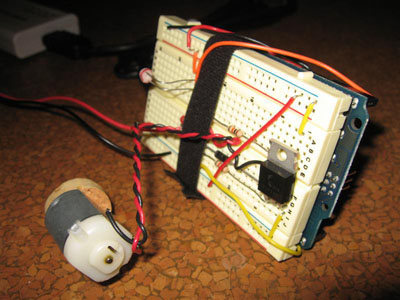
Here is a closeup of the breadboard side of the arduino/breadboard combo. As you can see, the input sensor is a photosensor on towards the far-side of the breadboard, and the output is a dc motor with an off-center piece of cork that makes it vibrate.
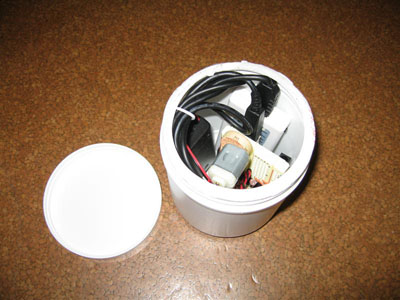
Here is everything inside the container. It is a very snug fit, but everything is in there! The original idea was to make the DC motor roll the container if it was placed on its side. Unfortunately, with the ardunio, breadboard, and battery packs, it was much too heavy for the dc motor to create enough torque to get the container moving!
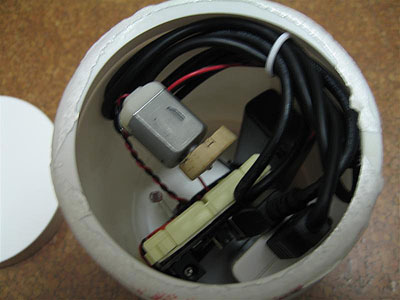
Here is a closer shot of everything.
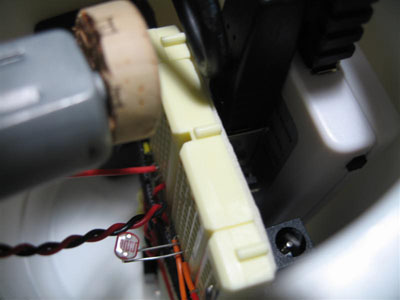
Here is an even closer shot of everything. Notice the photosensor towards the bottom of the photo.
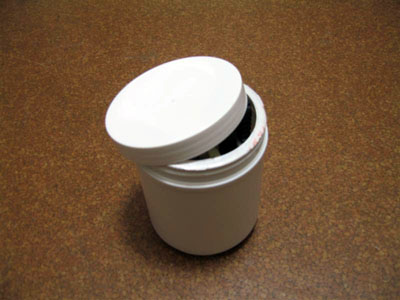
Everything closed up! When the lid is closed, nothing happens. When the lid is opened, the container starts to shake! The brighter it is, the more violently the container shakes! If miniaturized, this could be used as a reminder to put away items promptly.
Further Work
It would be nice to go with my original idea and have the container move on its own. Since the DC motor is too small, maybe I could expand on what I already have. I can use the knock sensor code I submitted in my last assignment so that if someone tapped/hit the container, it would show its irritation by letting out a beep.
Ardunio Source Code
int lightPin = 5;   // select the input pin for the light sensor
int motorPin = 9; // select the pin for the Motor

int val = 0;      // variable to store the value coming from the sensor

void setup()
{
 Serial.begin(9600);
}
void loop()
{
 val = analogRead(lightPin); // get light sensor input
 Serial.println(val); // print value to the monitor
 analogWrite(motorPin, val/4); // spin the motor accordingly
}