Assignment: Sensing PART II: Force sensors and photocells
Collaborators:
Description
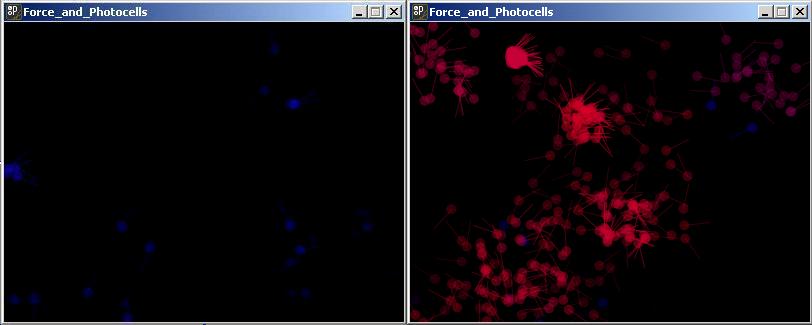
The program for part one is addictive. It is incredibly fun to play with. I would highly recommend it. It was created in the Processing.org system. It creates a cascade of particles whose time-to-live, color, and count is determined by the light level or the pressure. As light or pressure increases the color moves closer to pure red, the cascade lives longer, and the cascade contains more particles. Reducing light or pressure moves the cascades to blue, shrinks them, and lets them fade more quickly.
Components Used
Image
Processing Code
/*
 * Arduino Ball Paint
 * (Arduino Ball, modified 2008)
 * ----------------------
 *
 * Show a shower of fading objects at random location on the
 * screen. Color changes and number of objects responds to
 * pressure or light sensor.
 *
 * Receives an ASCII number over the serial port,
 * terminated with a carriage return (ascii 13) then newline (10).
 *
 *
 * Created by Seth Horrigan, Sep 25 2008
 *
 * Adapted from
 * Multiple Particle Systems
 * by Daniel Shiffman.
 */
import processing.serial.*;
// Change this to the portname your Arduino board
String portname = "COM4";
Serial port;
String buf="";
int cr = 13;  // ASCII return   == 13
int lf = 10;  // ASCII linefeed == 10
ArrayList psystems;
int counter = 0;

void setup() {
 size(400,300);
 frameRate(30);
 smooth();
 background(40,40,40);
 noStroke();

 port = new Serial(this, portname, 9600);
 psystems = new ArrayList();
}

// called whenever serial data arrives
void serialEvent(Serial p) {
 int c = port.read();

 if (c != lf && c != cr) {
 buf += char(c);
 return;
 }else if (c == lf) {
 int val = int(buf);
 println("val = " + val + "; counter = " + counter);

 if(counter == 0){
 int x = int(random(0,width));
 int y = int(random(0,height));
 psystems.add(new ParticleSystem(val, new Vector3D(x,y)));
 }
 counter = (counter+1) % 4;

 buf = "";
 }
}

void draw() {
 background(0);

 // Cycle through all particle systems, run them and delete old ones
 for (int i = psystems.size()-1; i >= 0; i--) {
 ParticleSystem psys = (ParticleSystem) psystems.get(i);
 psys.run();
 if (psys.dead()) {
 psystems.remove(i);
 }
 }

}


// A subclass of Particle

// Created 2 May 2005

class CrazyParticle extends Particle {

 // Just adding one new variable to a CrazyParticle
 // It inherits all other fields from "Particle", and we don't have to retype them!
 float theta;
 int color_num;

 // The CrazyParticle constructor can call the parent class (super class) constructor
 CrazyParticle(int num, Vector3D l) {
 // "super" means do everything from the constructor in Particle
 super(num, l);
 // One more line of code to deal with the new variable, theta
 theta = 0.0;
 color_num = num;
 }

 // Notice we don't have the method run() here; it is inherited from Particle

 // This update() method overrides the parent class update() method
 void update() {
 super.update();
 // Increment rotation based on horizontal velocity
 float theta_vel = (vel.x * vel.magnitude()) / 10.0f;
 theta += theta_vel;
 }

 // Override timer
 void timer() {
 timer -= 0.5;
 }

 // Method to display
 void render() {
 // Render the ellipse just like in a regular particle
 super.render();

 // Then add a rotating line
 pushMatrix();
 translate(loc.x,loc.y);
 rotate(theta);
 stroke(color_num, 0, 255 - color_num, timer);
 line(0,0,25,0);
 popMatrix();
 }
}


// A simple Particle class
class Particle {
 Vector3D loc;
 Vector3D vel;
 Vector3D acc;
 float r;
 float timer;
 int color_num;

 // constructor (the one we are using here)
 Particle(int num, Vector3D l) {
 acc = new Vector3D(0,0.05,0);
 vel = new Vector3D(random(-1,1),random(-2,0),0);
 loc = l.copy();
 r = 10.0;
 timer = 100.0 + (num / 5);
 color_num = num;
 }


 void run() {
 update();
 render();
 }

 // Method to update location
 void update() {
 vel.add(acc);
 loc.add(vel);
 timer -= 1.0;
 }

 // Method to display
 void render() {
 ellipseMode(CENTER);
 noStroke();
 fill(color_num, 0, 255 - color_num,timer);
 ellipse(loc.x,loc.y,r,r);
 }

 // Is the particle still useful?
 boolean dead() {
 if (timer <= 0.0) {
 return true;
 } else {
 return false;
 }
 }
}


// A class to describe a group of Particles
// An ArrayList is used to manage the list of Particles

class ParticleSystem {

 ArrayList particles;    // An arraylist for all the particles
 Vector3D origin;        // An origin point for where particles are birthed

 ParticleSystem(int num, Vector3D v) {
 particles = new ArrayList();              // Initialize the arraylist
 origin = v.copy();                        // Store the origin point
 for (int i = 0; i < num / 6; i++) {
 particles.add(new CrazyParticle(num, origin));    // Add "num" amount of particles to the arraylist
 }
 }

 void run() {
 // Cycle through the ArrayList backwards b/c we are deleting
 for (int i = particles.size()-1; i >= 0; i--) {
 Particle p = (Particle) particles.get(i);
 p.run();
 if (p.dead()) {
 particles.remove(i);
 }
 }
 }

 // A method to test if the particle system still has particles
 boolean dead() {
 if (particles.isEmpty()) {
 return true;
 } else {
 return false;
 }
 }
}


// Simple Vector3D Class

public class Vector3D {
 public float x;
 public float y;
 public float z;

 Vector3D(float x_, float y_, float z_) {
 x = x_; y = y_; z = z_;
 }

 Vector3D(float x_, float y_) {
 x = x_; y = y_; z = 0f;
 }

 Vector3D() {
 x = 0f; y = 0f; z = 0f;
 }

 void setX(float x_) {
 x = x_;
 }

 void setY(float y_) {
 y = y_;
 }

 void setZ(float z_) {
 z = z_;
 }

 void setXY(float x_, float y_) {
 x = x_;
 y = y_;
 }

 void setXYZ(float x_, float y_, float z_) {
 x = x_;
 y = y_;
 z = z_;
 }

 void setXYZ(Vector3D v) {
 x = v.x;
 y = v.y;
 z = v.z;
 }
 public float magnitude() {
 return (float) Math.sqrt(x*x + y*y + z*z);
 }

 public Vector3D copy() {
 return new Vector3D(x,y,z);
 }

 public Vector3D copy(Vector3D v) {
 return new Vector3D(v.x, v.y,v.z);
 }

 public void add(Vector3D v) {
 x += v.x;
 y += v.y;
 z += v.z;
 }

 public void sub(Vector3D v) {
 x -= v.x;
 y -= v.y;
 z -= v.z;
 }

 public void mult(float n) {
 x *= n;
 y *= n;
 z *= n;
 }

 public void div(float n) {
 x /= n;
 y /= n;
 z /= n;
 }

 public void normalize() {
 float m = magnitude();
 if (m > 0) {
 div(m);
 }
 }

 public void limit(float max) {
 if (magnitude() > max) {
 normalize();
 mult(max);
 }
 }

 public float heading2D() {
 float angle = (float) Math.atan2(-y, x);
 return -1*angle;
 }

 public Vector3D add(Vector3D v1, Vector3D v2) {
 Vector3D v = new Vector3D(v1.x + v2.x,v1.y + v2.y, v1.z + v2.z);
 return v;
 }

 public Vector3D sub(Vector3D v1, Vector3D v2) {
 Vector3D v = new Vector3D(v1.x - v2.x,v1.y - v2.y,v1.z - v2.z);
 return v;
 }

 public Vector3D div(Vector3D v1, float n) {
 Vector3D v = new Vector3D(v1.x/n,v1.y/n,v1.z/n);
 return v;
 }

 public Vector3D mult(Vector3D v1, float n) {
 Vector3D v = new Vector3D(v1.x*n,v1.y*n,v1.z*n);
 return v;
 }

 public float distance (Vector3D v1, Vector3D v2) {
 float dx = v1.x - v2.x;
 float dy = v1.y - v2.y;
 float dz = v1.z - v2.z;
 return (float) Math.sqrt(dx*dx + dy*dy + dz*dz);
 }

}
Description
"Create a mechanical construction for your FSR that distributes or focuses physical force that is applied." So I looked at things in the house where I could measure force.: the push buttons on locks, my bicycle brake levers, keys on my keyboard. All of these might be interesting but none really required a mechanical construction, so I ended up with measuring the weight placed on my pillow by my head. This is accomplished using a measuring cup (to focus the force on the FSR). I had initially placed a board between the cup and the pillow to ensure all of the force was transferred, but I found that the weight of the board compressed the sensor completely already.
Components Used
Images
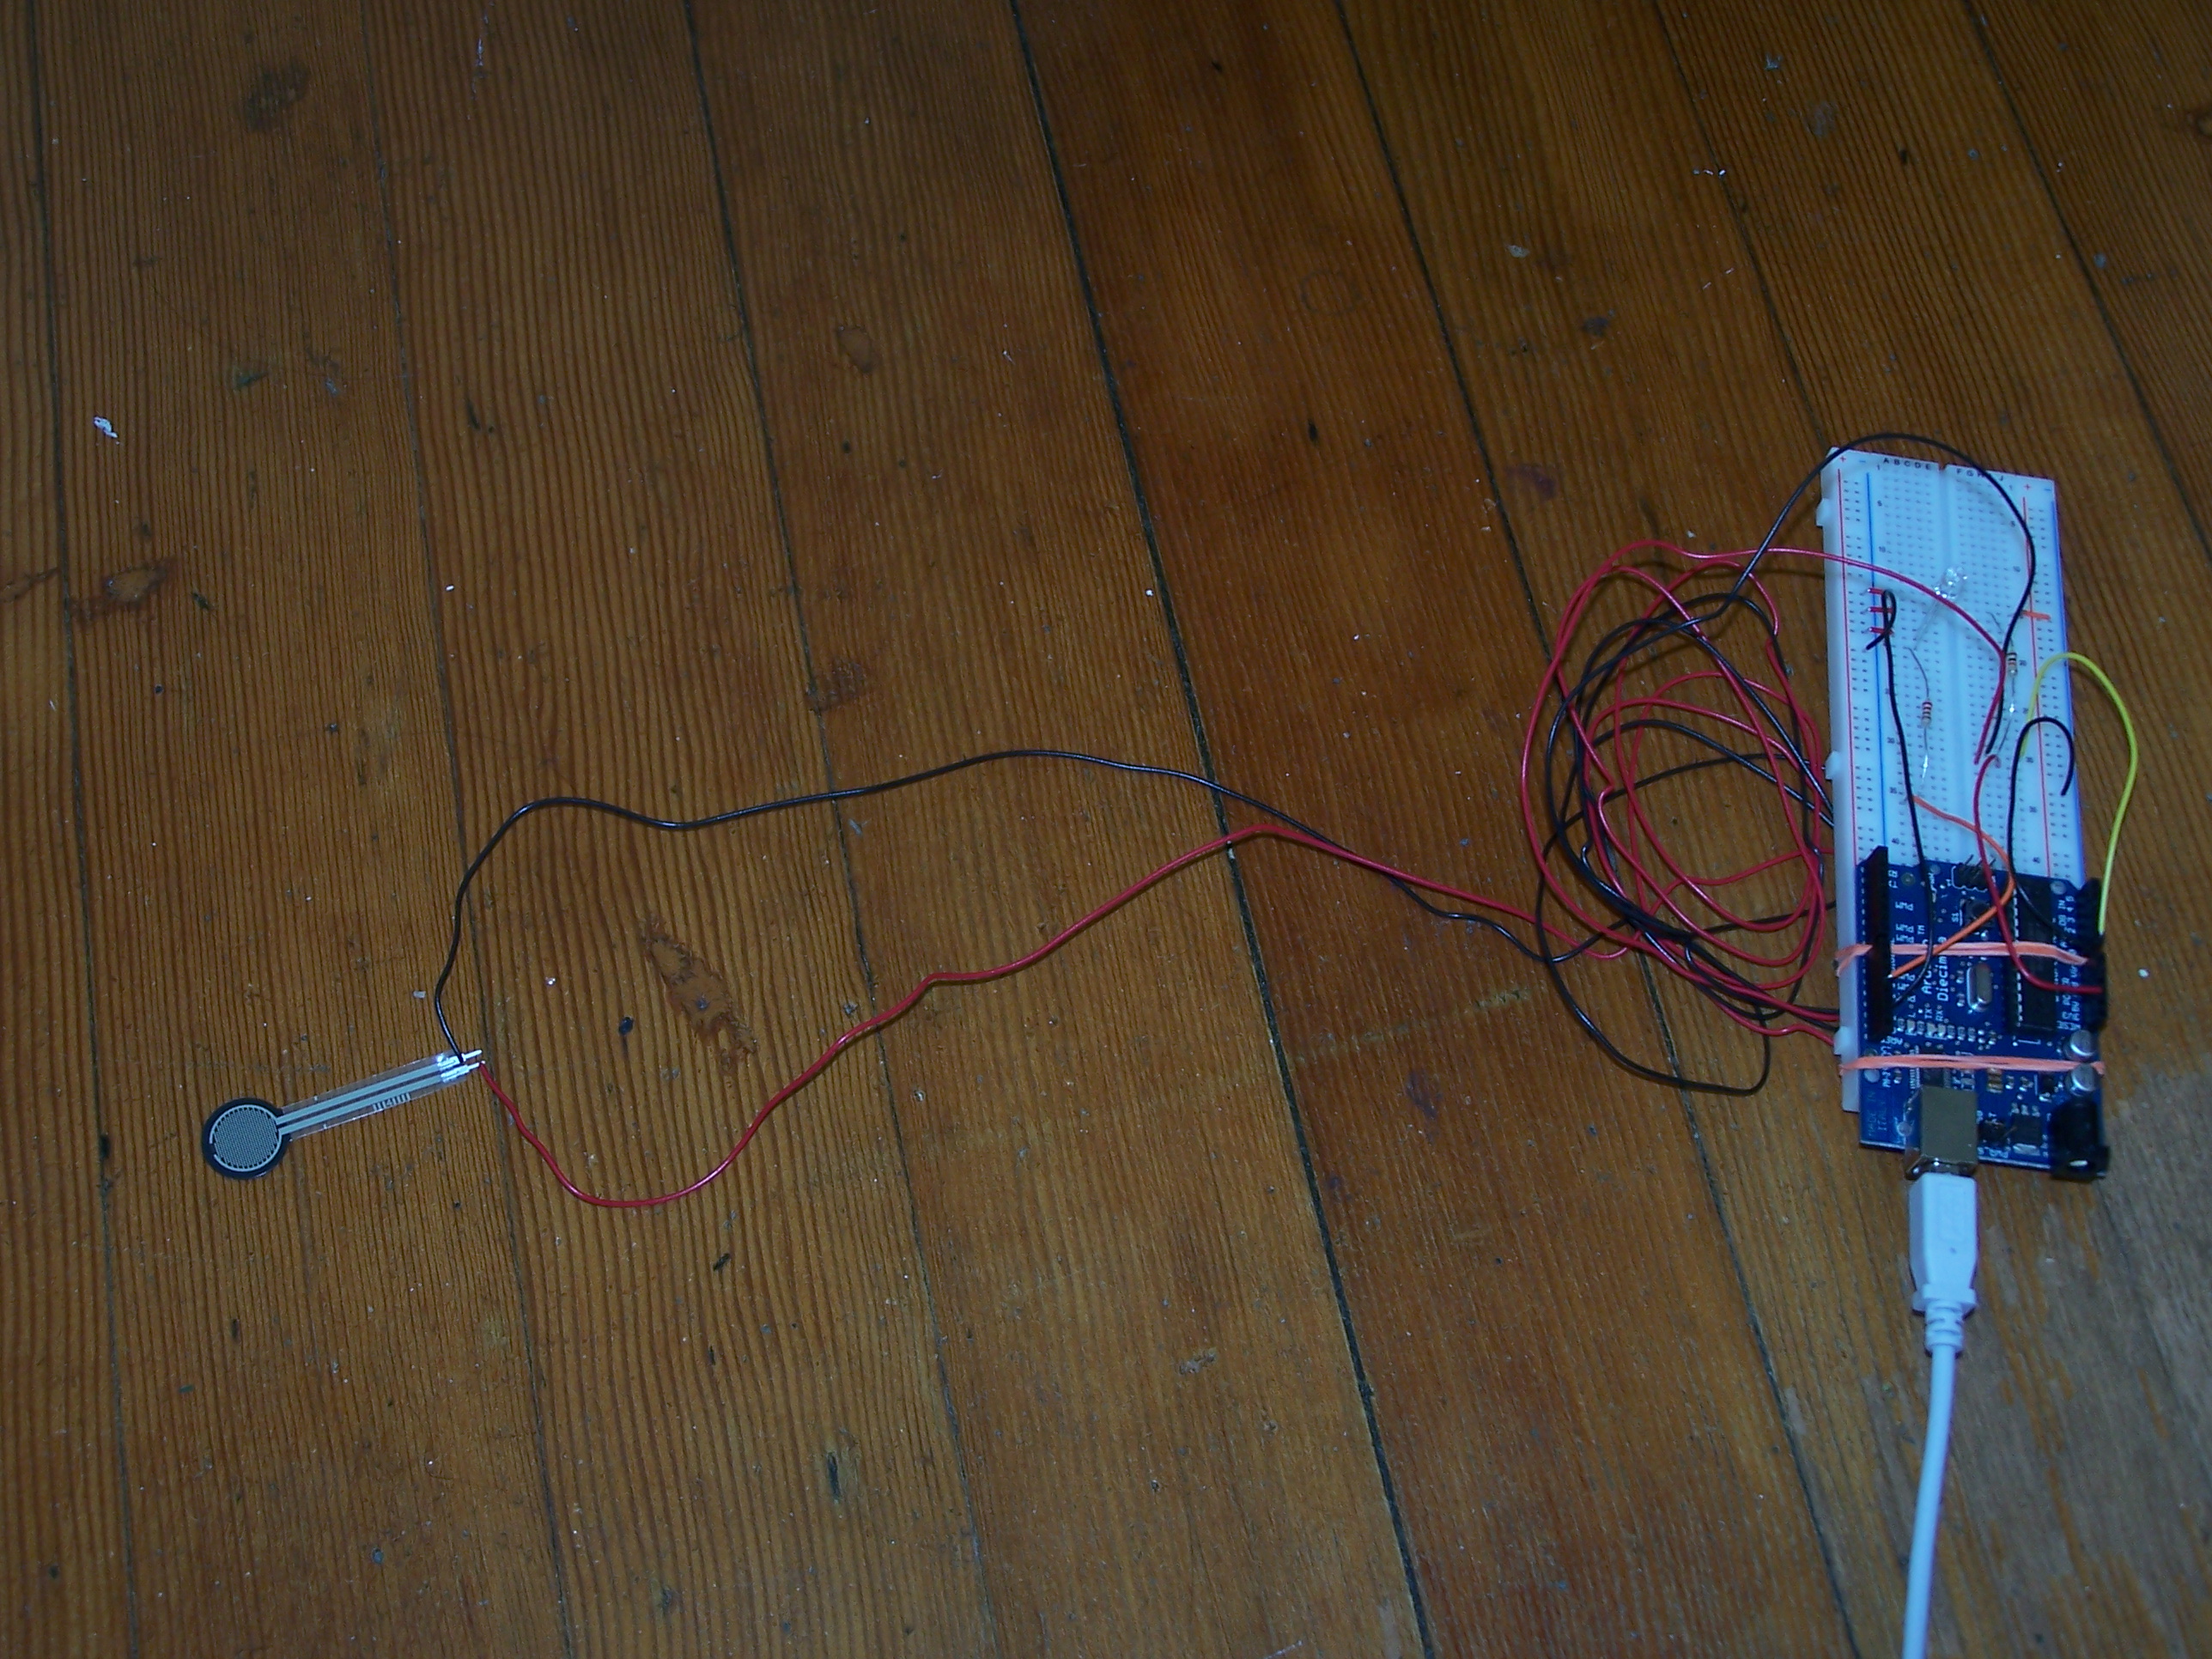
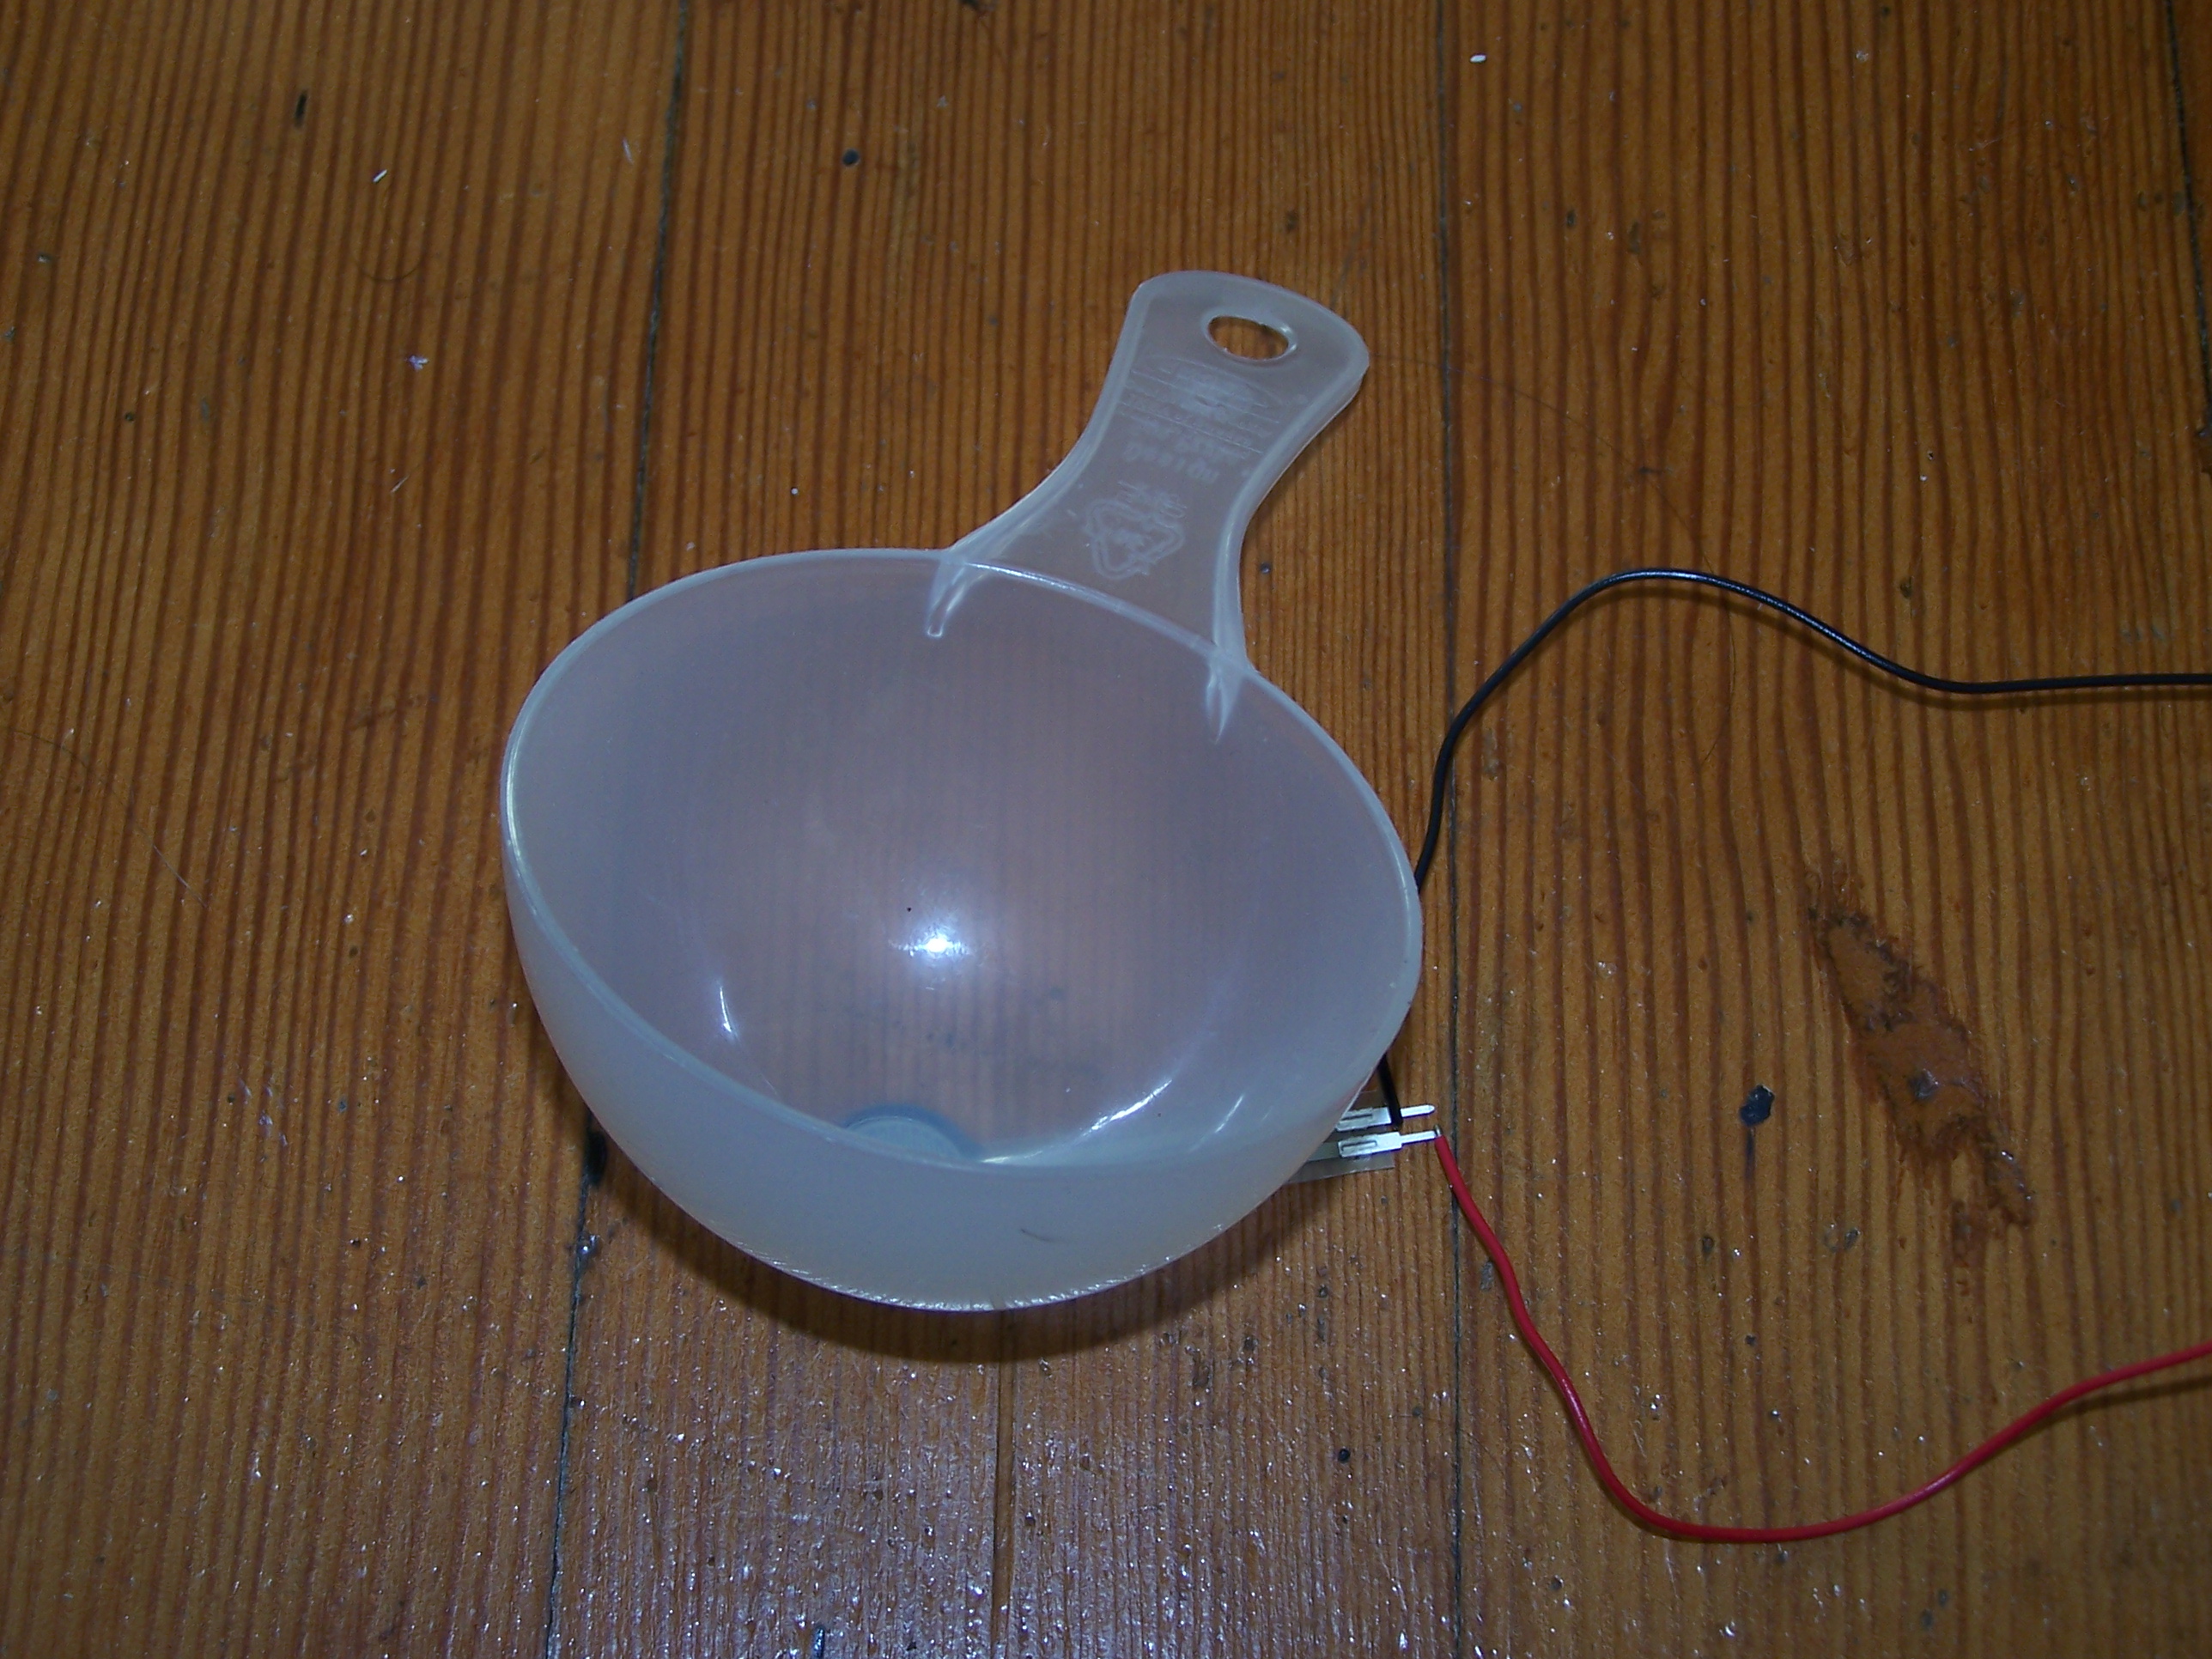

Basic setup, FSR connected Add measuring cup to focus Failed idea of board
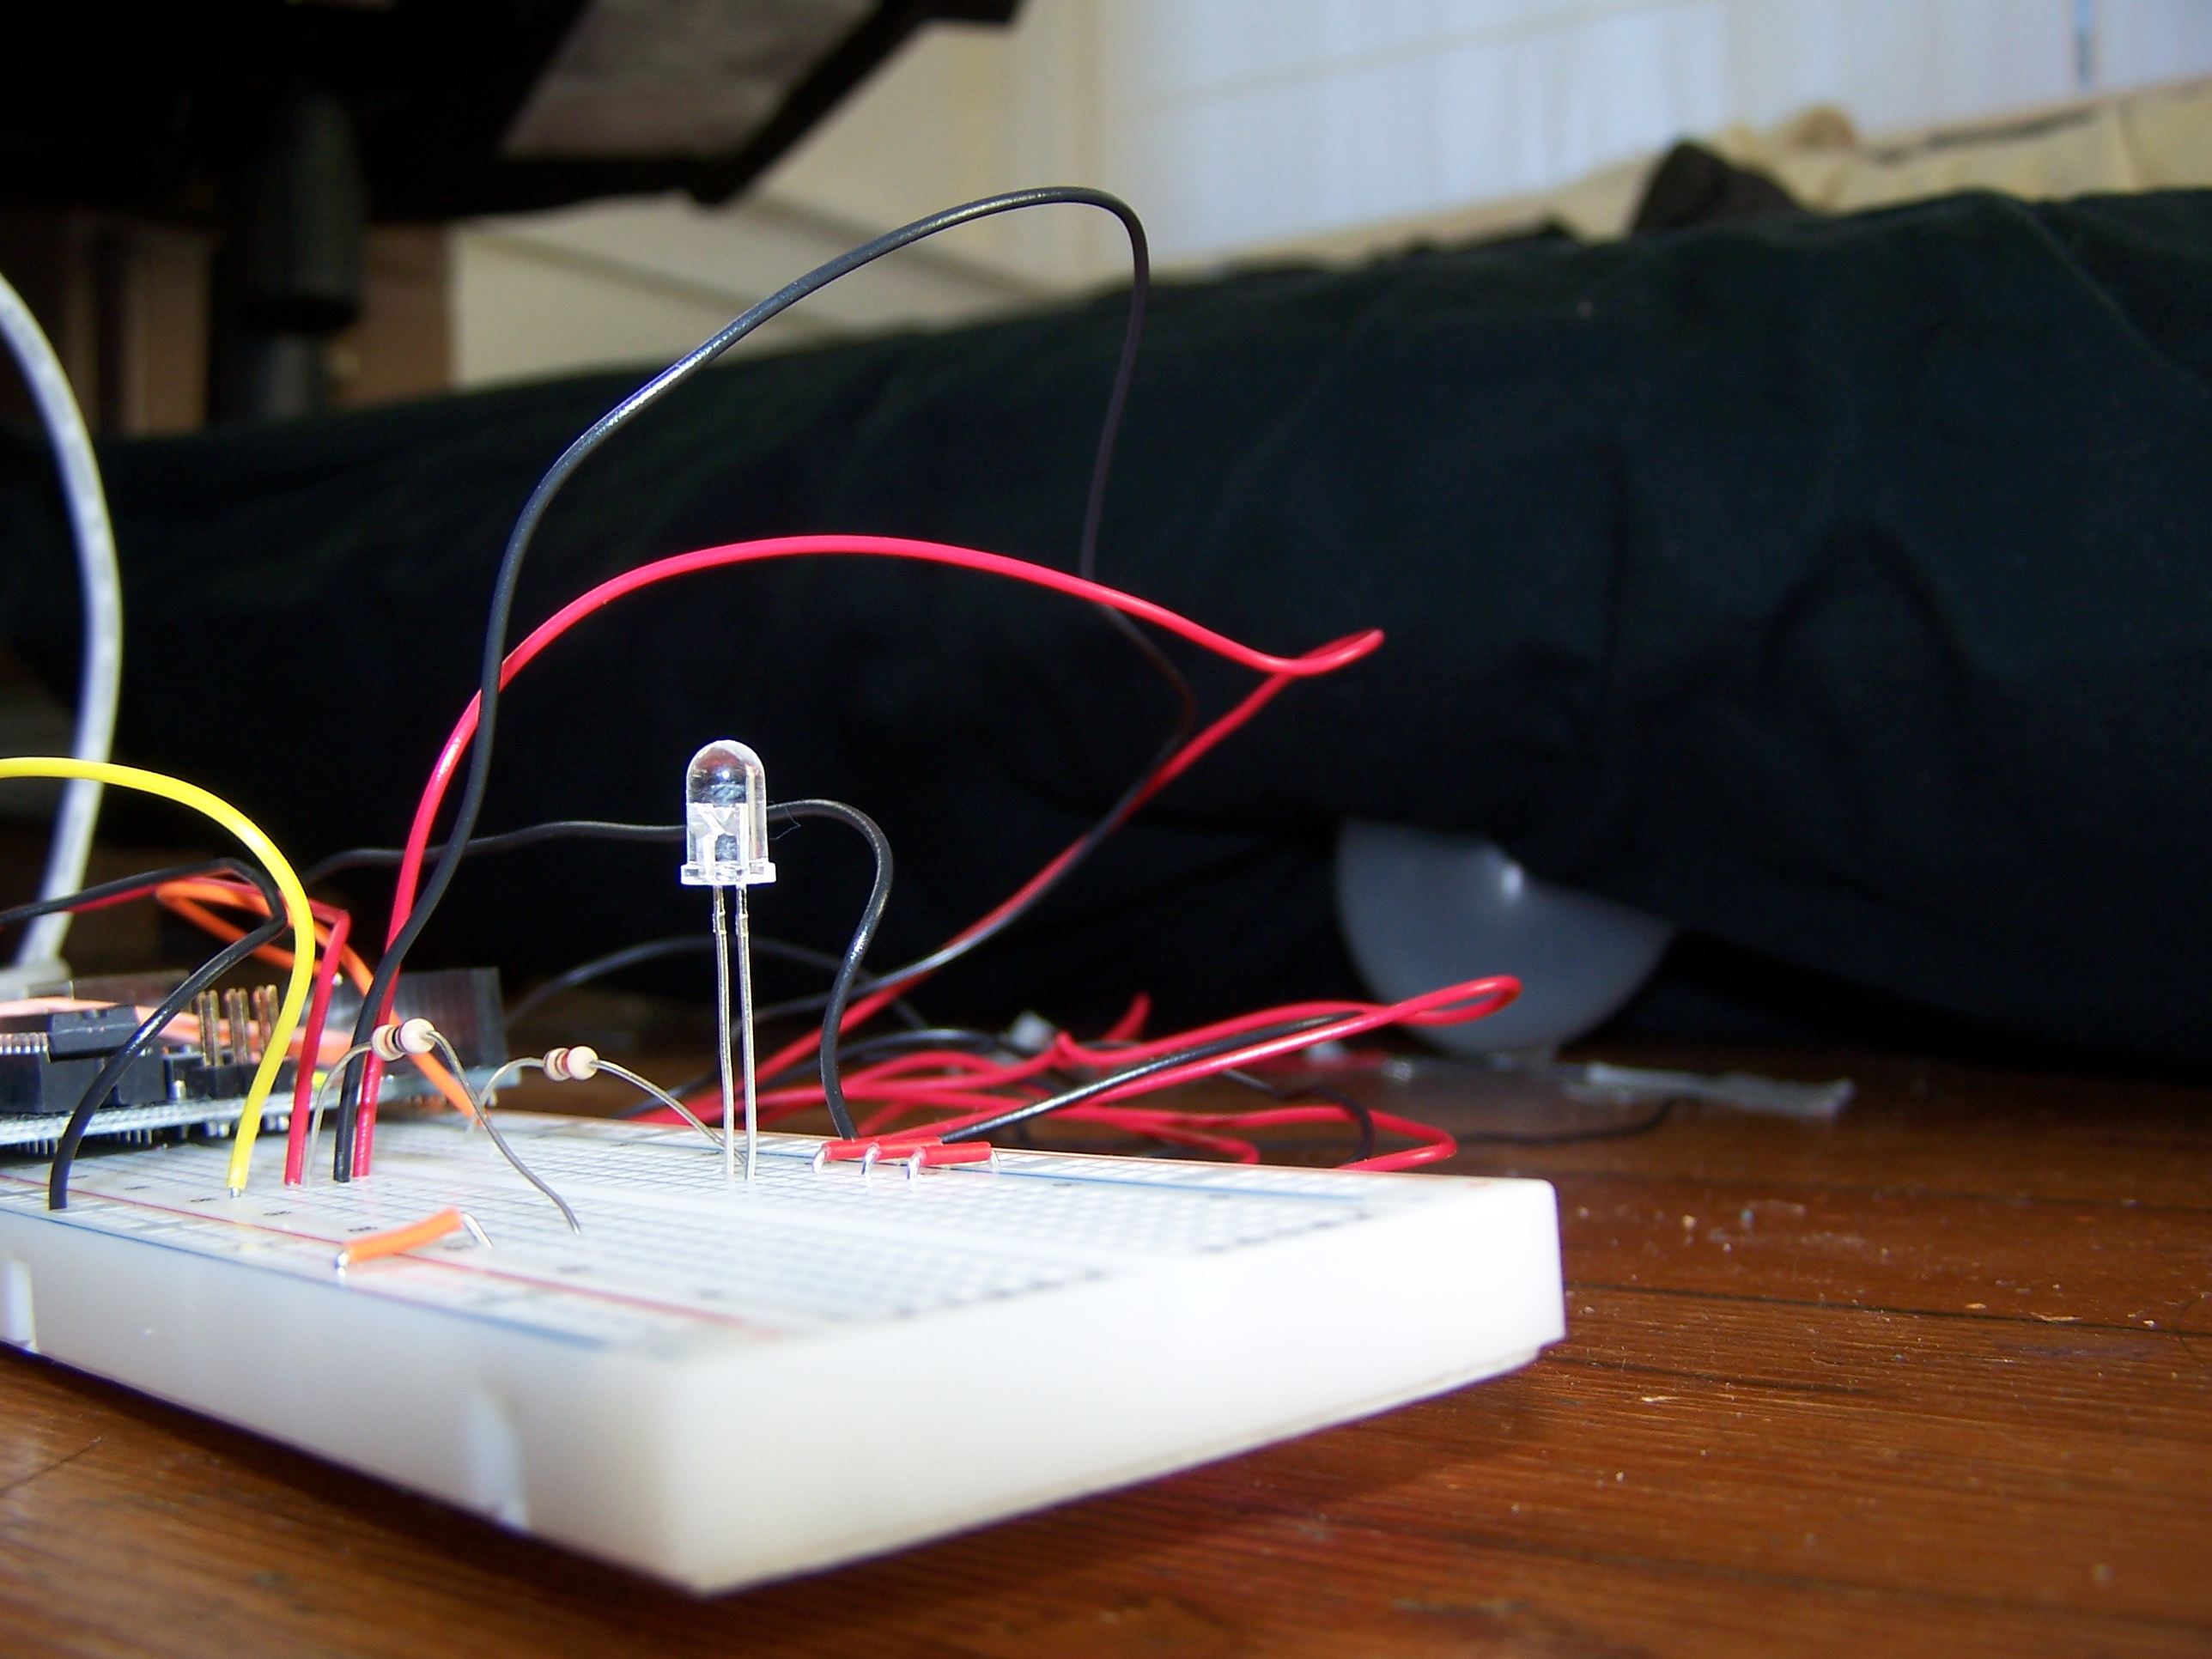
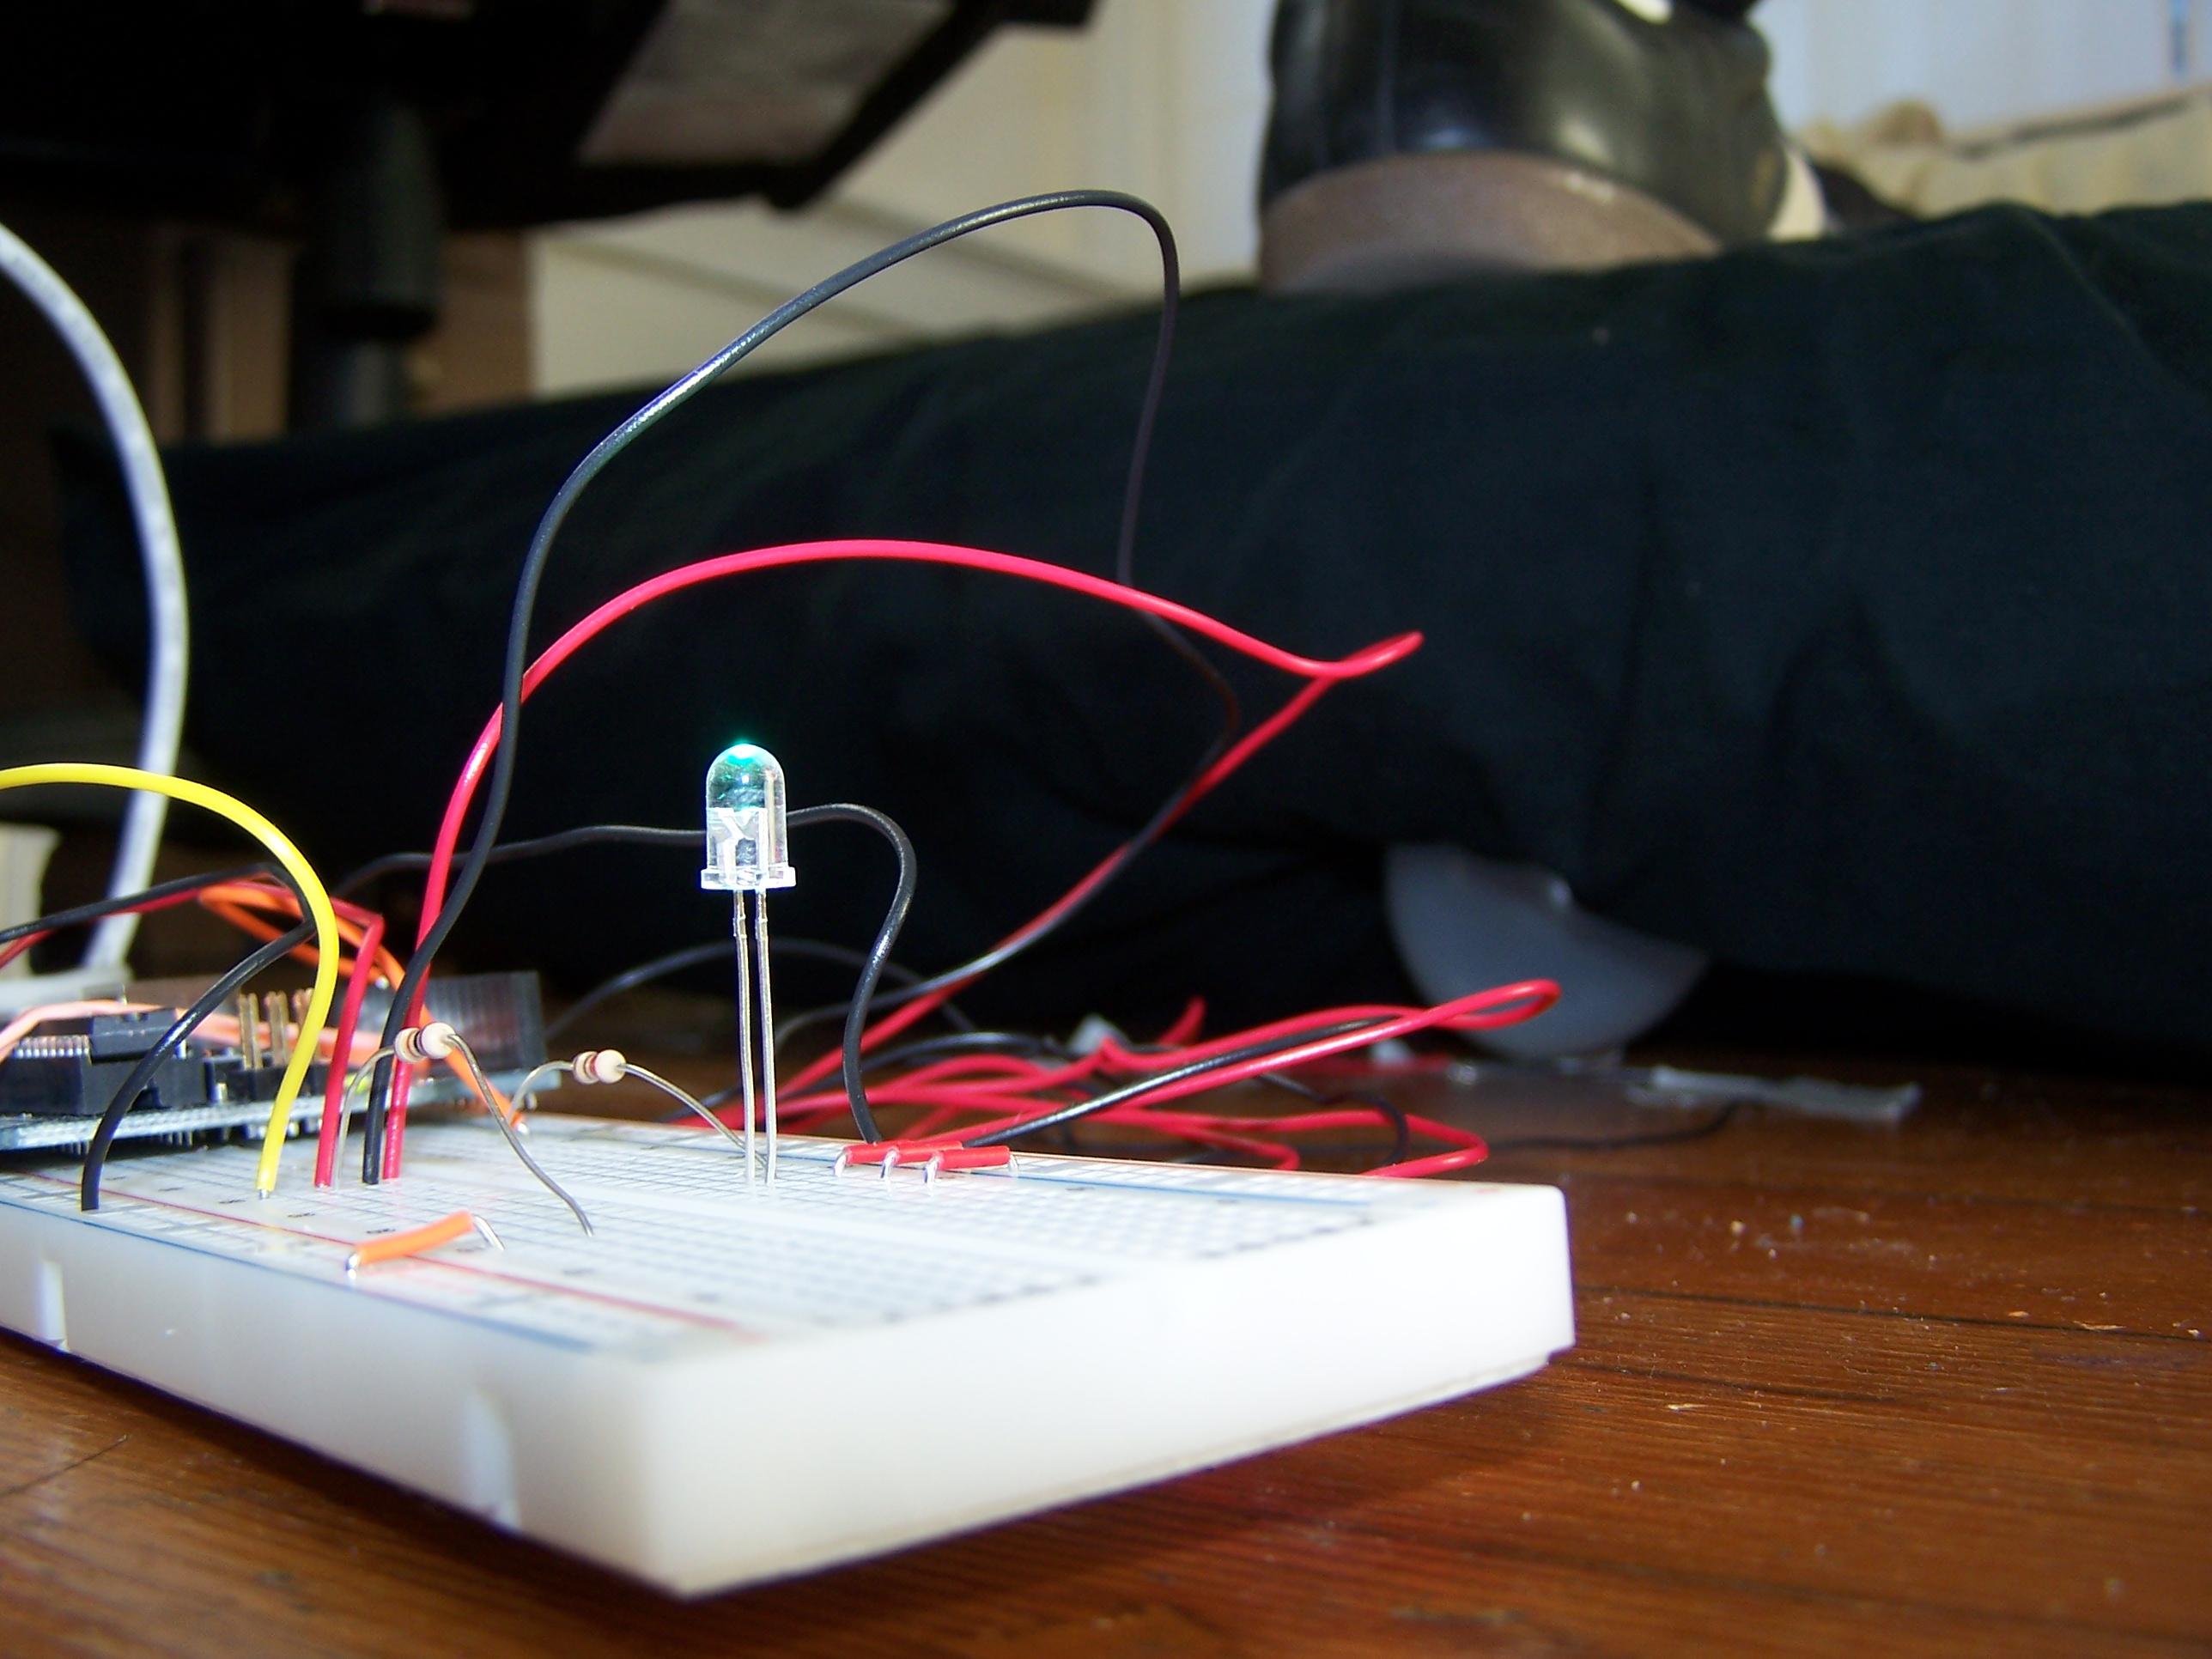
Set the threshold high for FSR output Shoe simulates head