Components
- FSR
- Photocell
- 10k resistor
- LEDs
- Arduino board
- Bread board
- Wires
In lab exercise
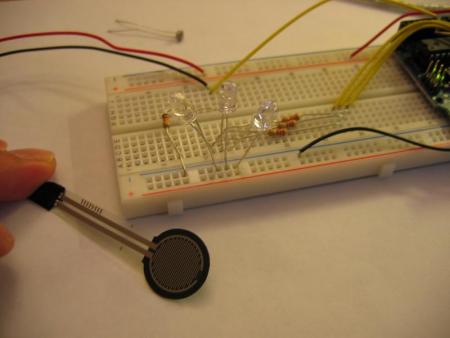
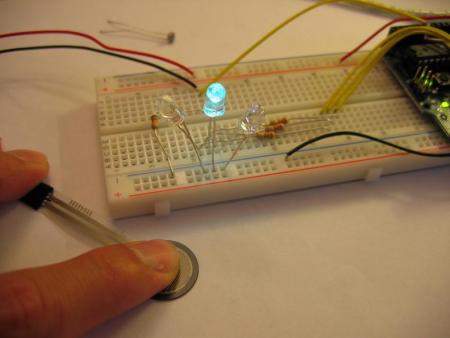
For the in-lab exercise, i have tried plugging in FSR and photo cells on the breadboard. Using the code for Lab-3, I can control the brightness and blinking rate with those two sensors. Here arethe demo pictures.


Homework-1 Visualizaiton
Code on Arduino
int potPin = 0; // select the input pin for the potentiometer
int ledPin = 10; // select the pin for the LED
int val = 0; // variable to store the value coming from the sensor
void setup() {
Serial.begin(9600);
}
void loop() {
val = analogRead(potPin); // read the value from the sensor, between 0 - 1024
Serial.println(val/4, DEC);
analogWrite(ledPin, val/4); // analogWrite can be between 0-255
}
Code on Processing
import processing.serial.*;
// Change this to the portname your Arduino board
String portname = "COM4"; // or "COM5"
Serial port;
String buf="";
int cr = 13; // ASCII return == 13
int lf = 10; // ASCII linefeed == 10
int maxNum = 50;
int num = 0;
void setup() {
size(600,600);
frameRate(10);
smooth();
background(40,40,40);
noStroke();
port = new Serial(this, portname, 9600);
}
void draw() {
}
void keyPressed() {
}
// draw a ball
void drawball(int x, int y, int r) {
ellipse(x,y, r,r);
}
// called whenever serial data arrives
void serialEvent(Serial p) {
int value;
if (port.available() > 0) {
String myString = port.readStringUntil(lf);
if (myString != null) {
//print(myString.substring(0, myString.length()-2));
value = int(myString.substring(0, myString.length()-2));
//value = int(myString);
int sign = 1;
println(""+value);
if (value > 0) {
int x = int(random(0,width));
int y = int(random(0,height));
if (int(random(0,1)) == 0)
sign = -1;
drawball(x,y,value+sign*int(random(0,10)));
if (++num == maxNum) {
background(40,40,40);
num = 0;
}
}
}
}
}


