Prototype Description
In our paper-based prototype, we created a Turbo-Tax style navigation bar that divides the metadata tagging process into several stages. The multi-stage process is to avoid overwhelming the users with too many metadata options to choose from at once during metadata tagging. We sketched out a paper-based interface for each stage of the metadata tagging process.
One challenge we had to address when coming up with the low-fi prototype is how to organize and present such a massive amount of different kinds of metadata in a meaningful and clear way to the instructors. We decided to organize the metadata into different facet categories. We sketched out a Flamenco style interface to present these metadata to the users in order to help them conveniently browse the metadata.
To create the offline or paper-based prototypes, we used color pencils, pencil and pen to sketch on 17 x 11 and 8.5 x 11 papers what each page of the metadata tagging tool should look like. We focused on sketching out all the necessary and desirable features on each page without presenting the "look and feel" of the page. We tried to make sure each page layout and style is consistent with the overall layout and style of the metadata tagging tool. We also used post-it to indicate mouse over highlights, pop-up windows, and tabs. We used clear tape to create mouse pointer, and the mouse-over hand. We also made a time filter to signal participants to wait when the "computer" is processing.
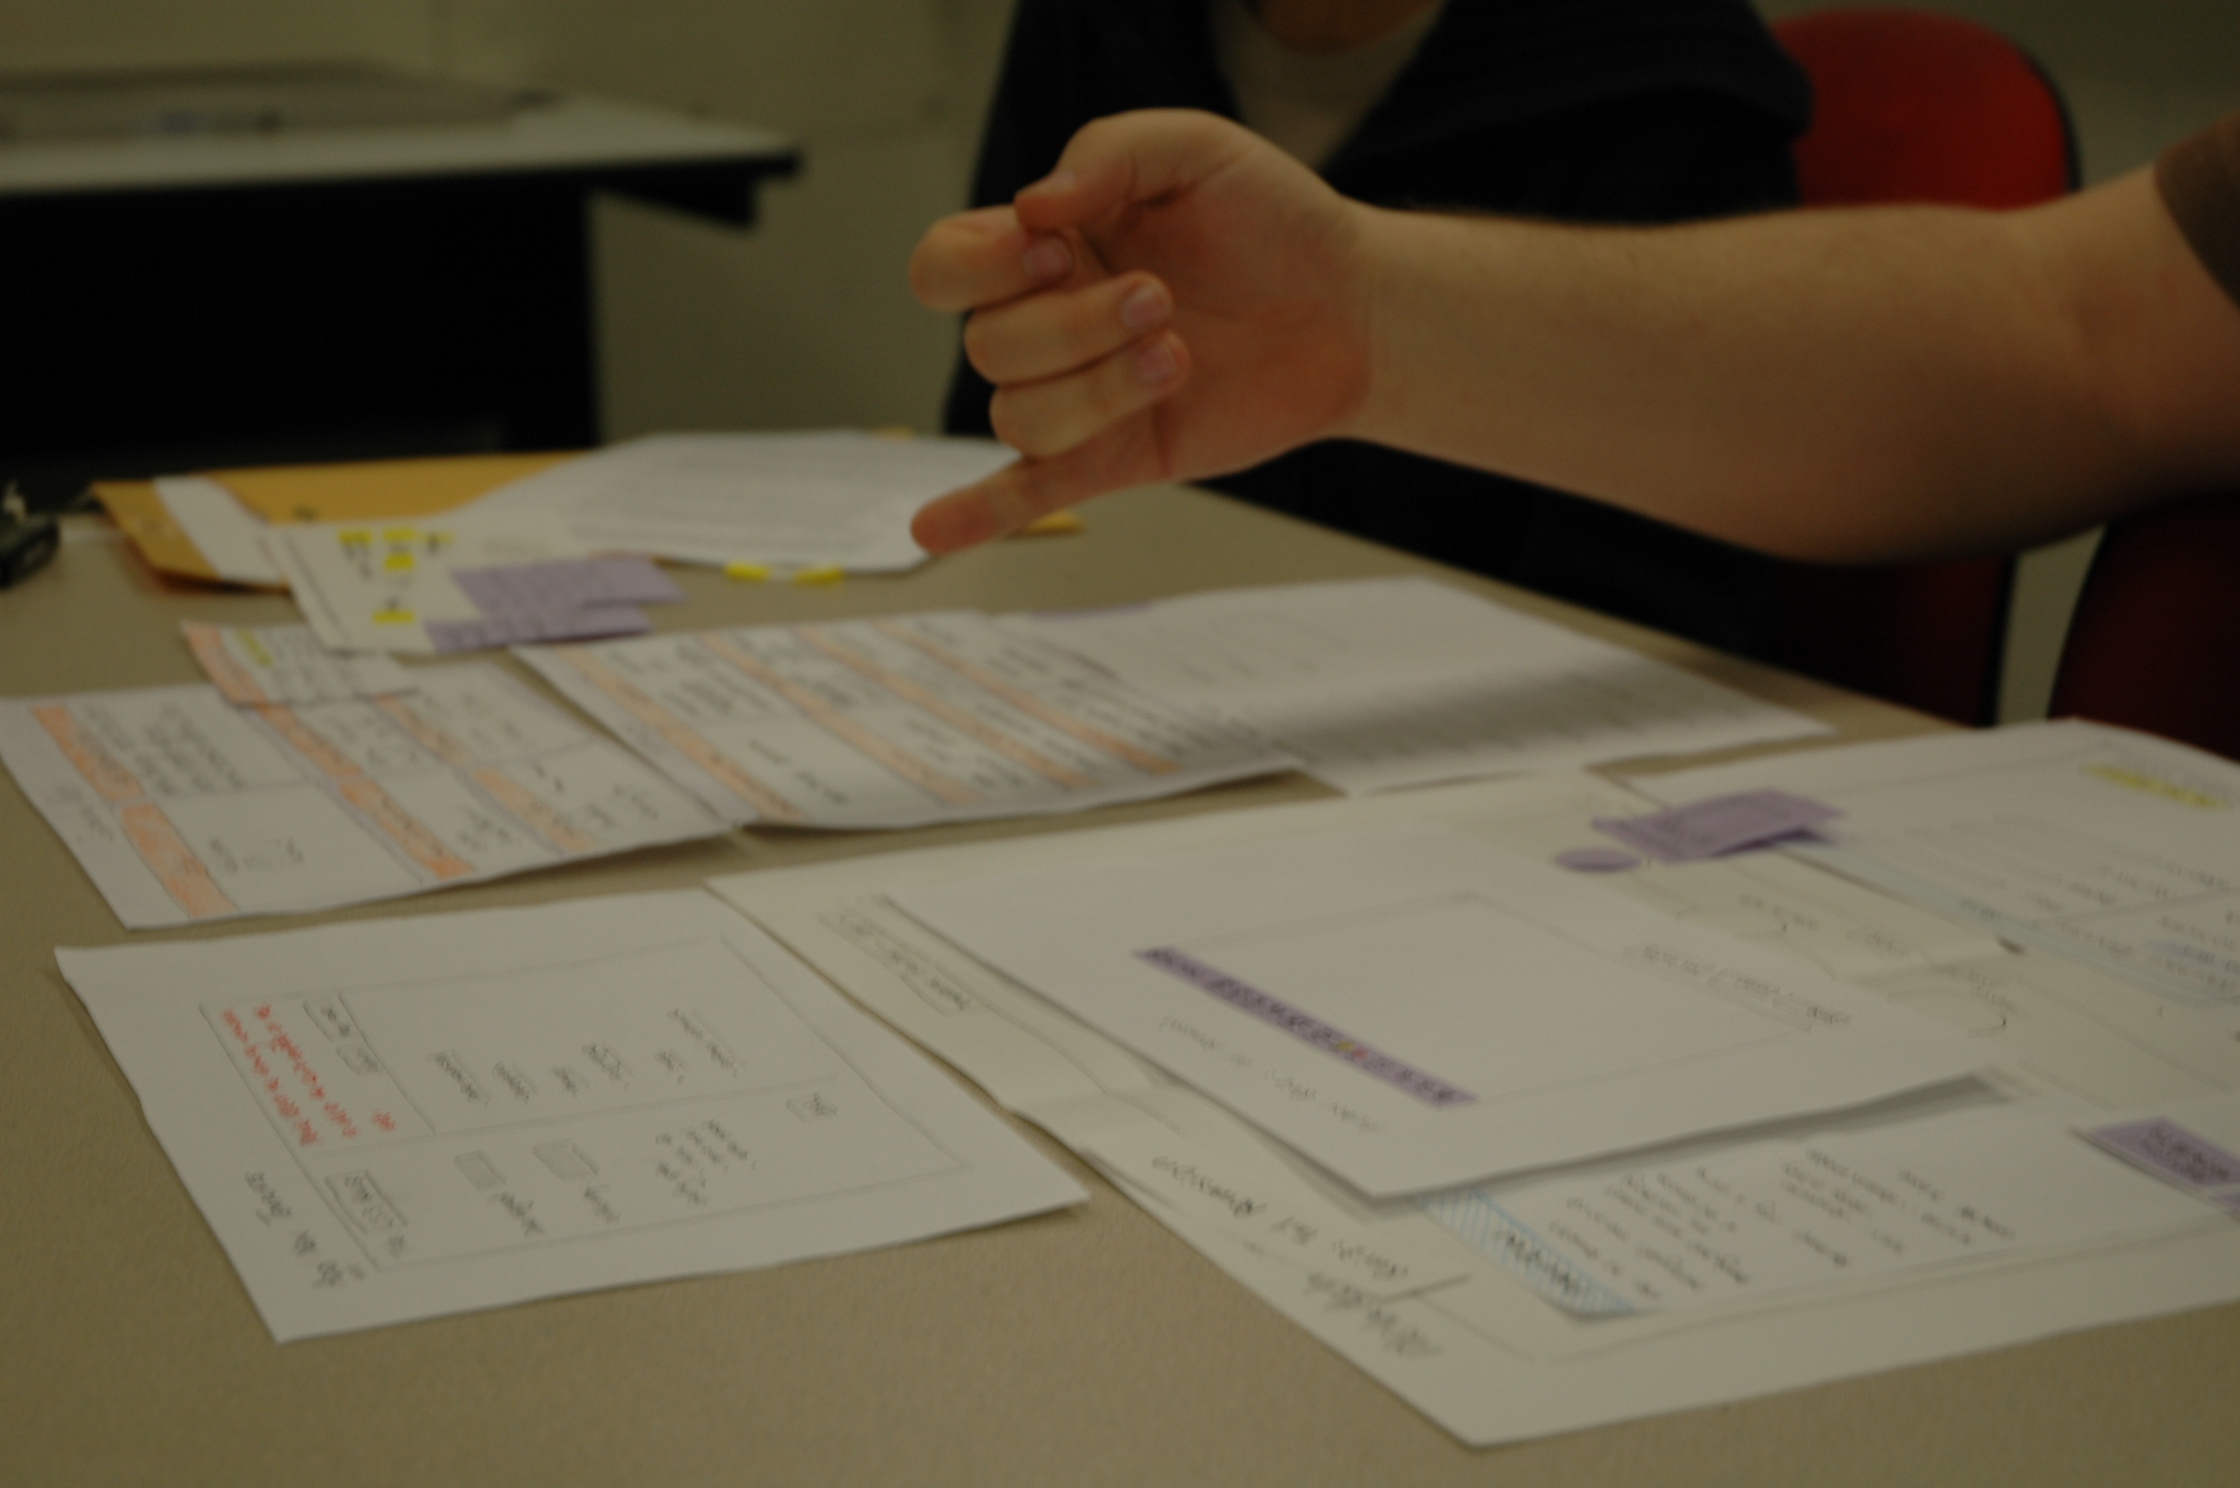
1. Overall Look of the paper-based prototype
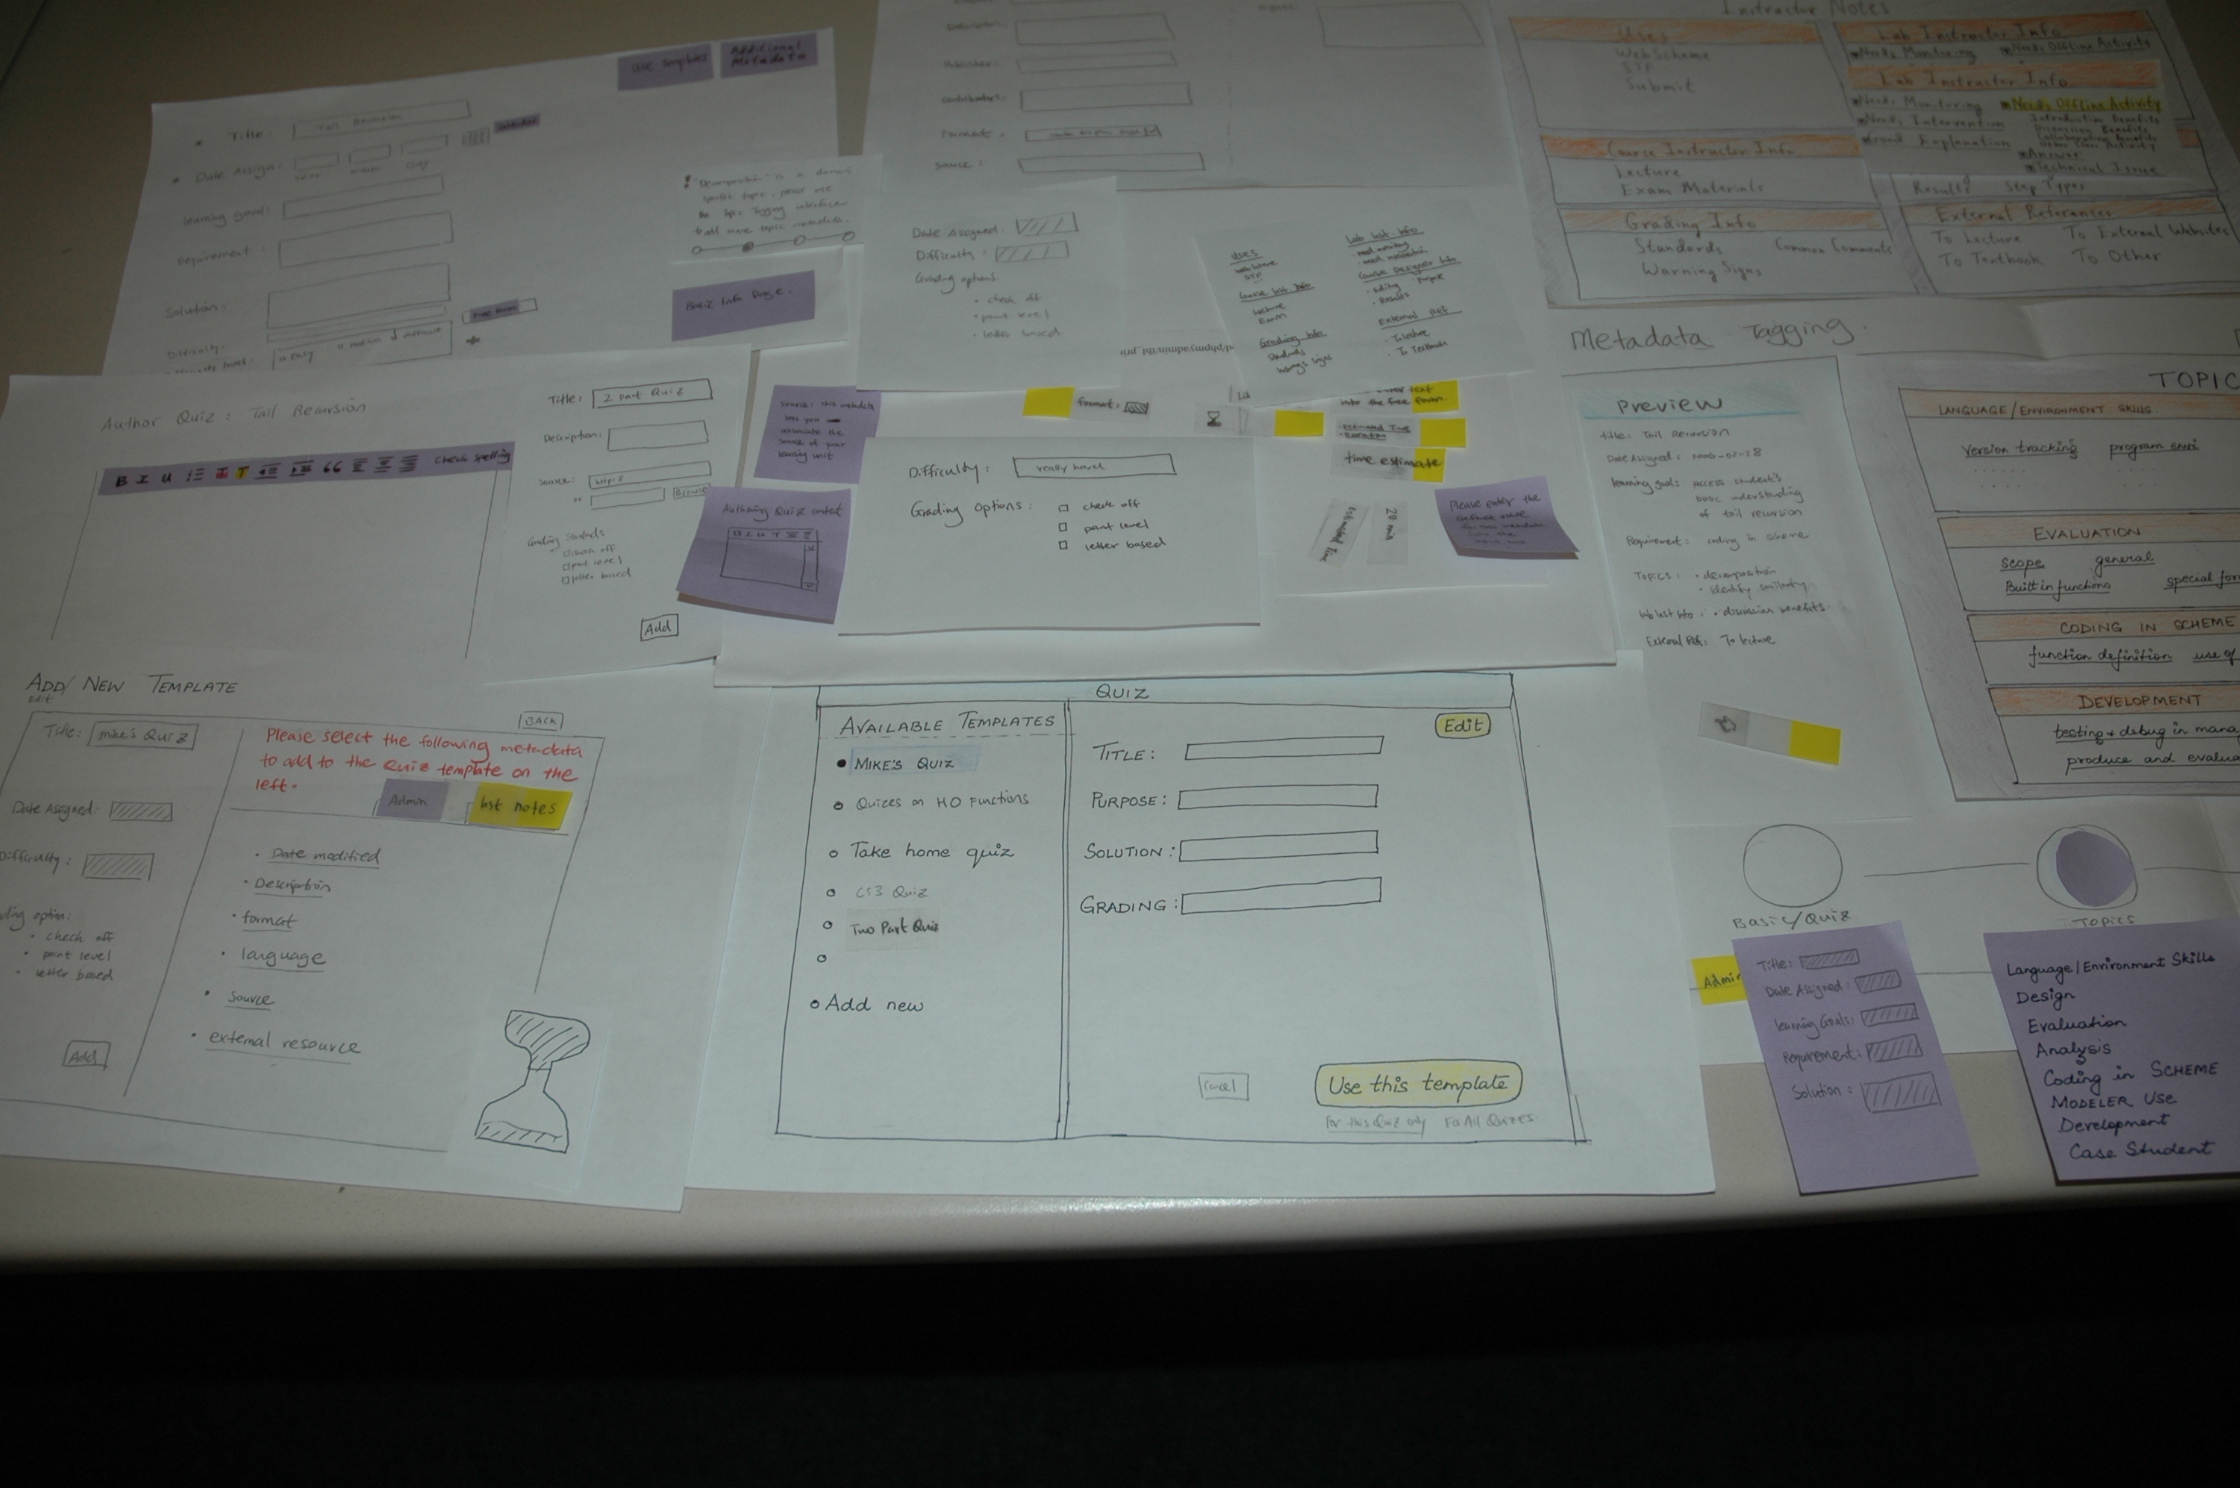 |
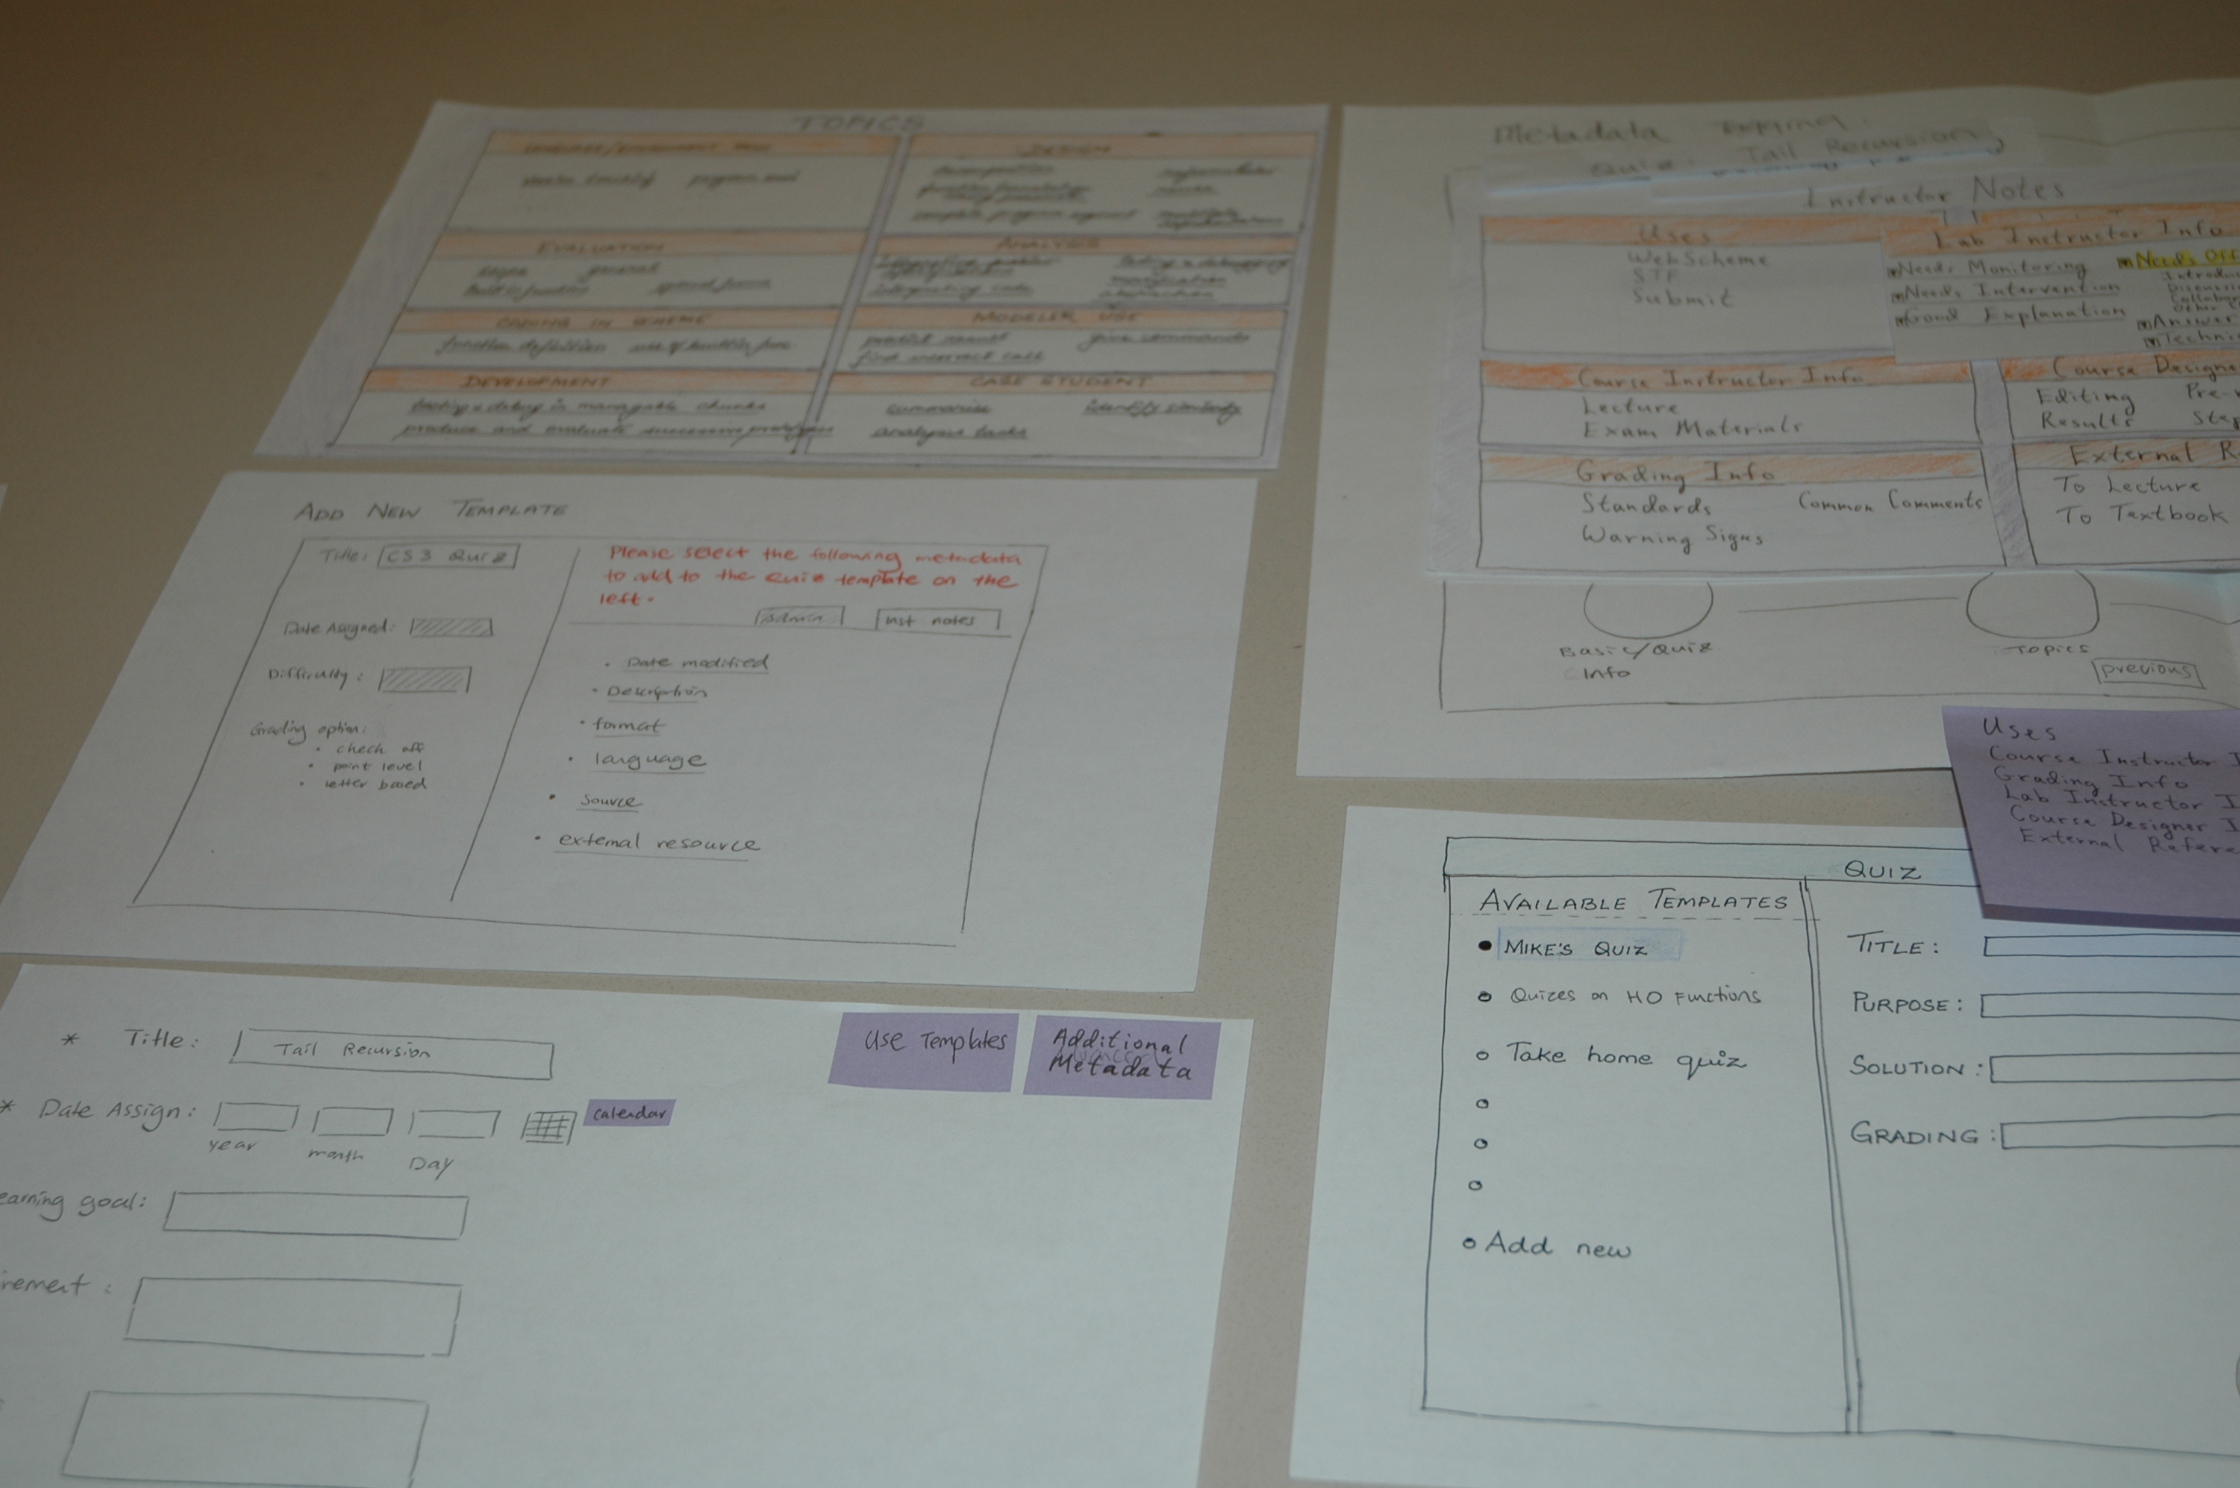 |
| [Figure 1] | [Figure 2] |
2. Paper based sketches for each page in the metadata tagging tool
 |
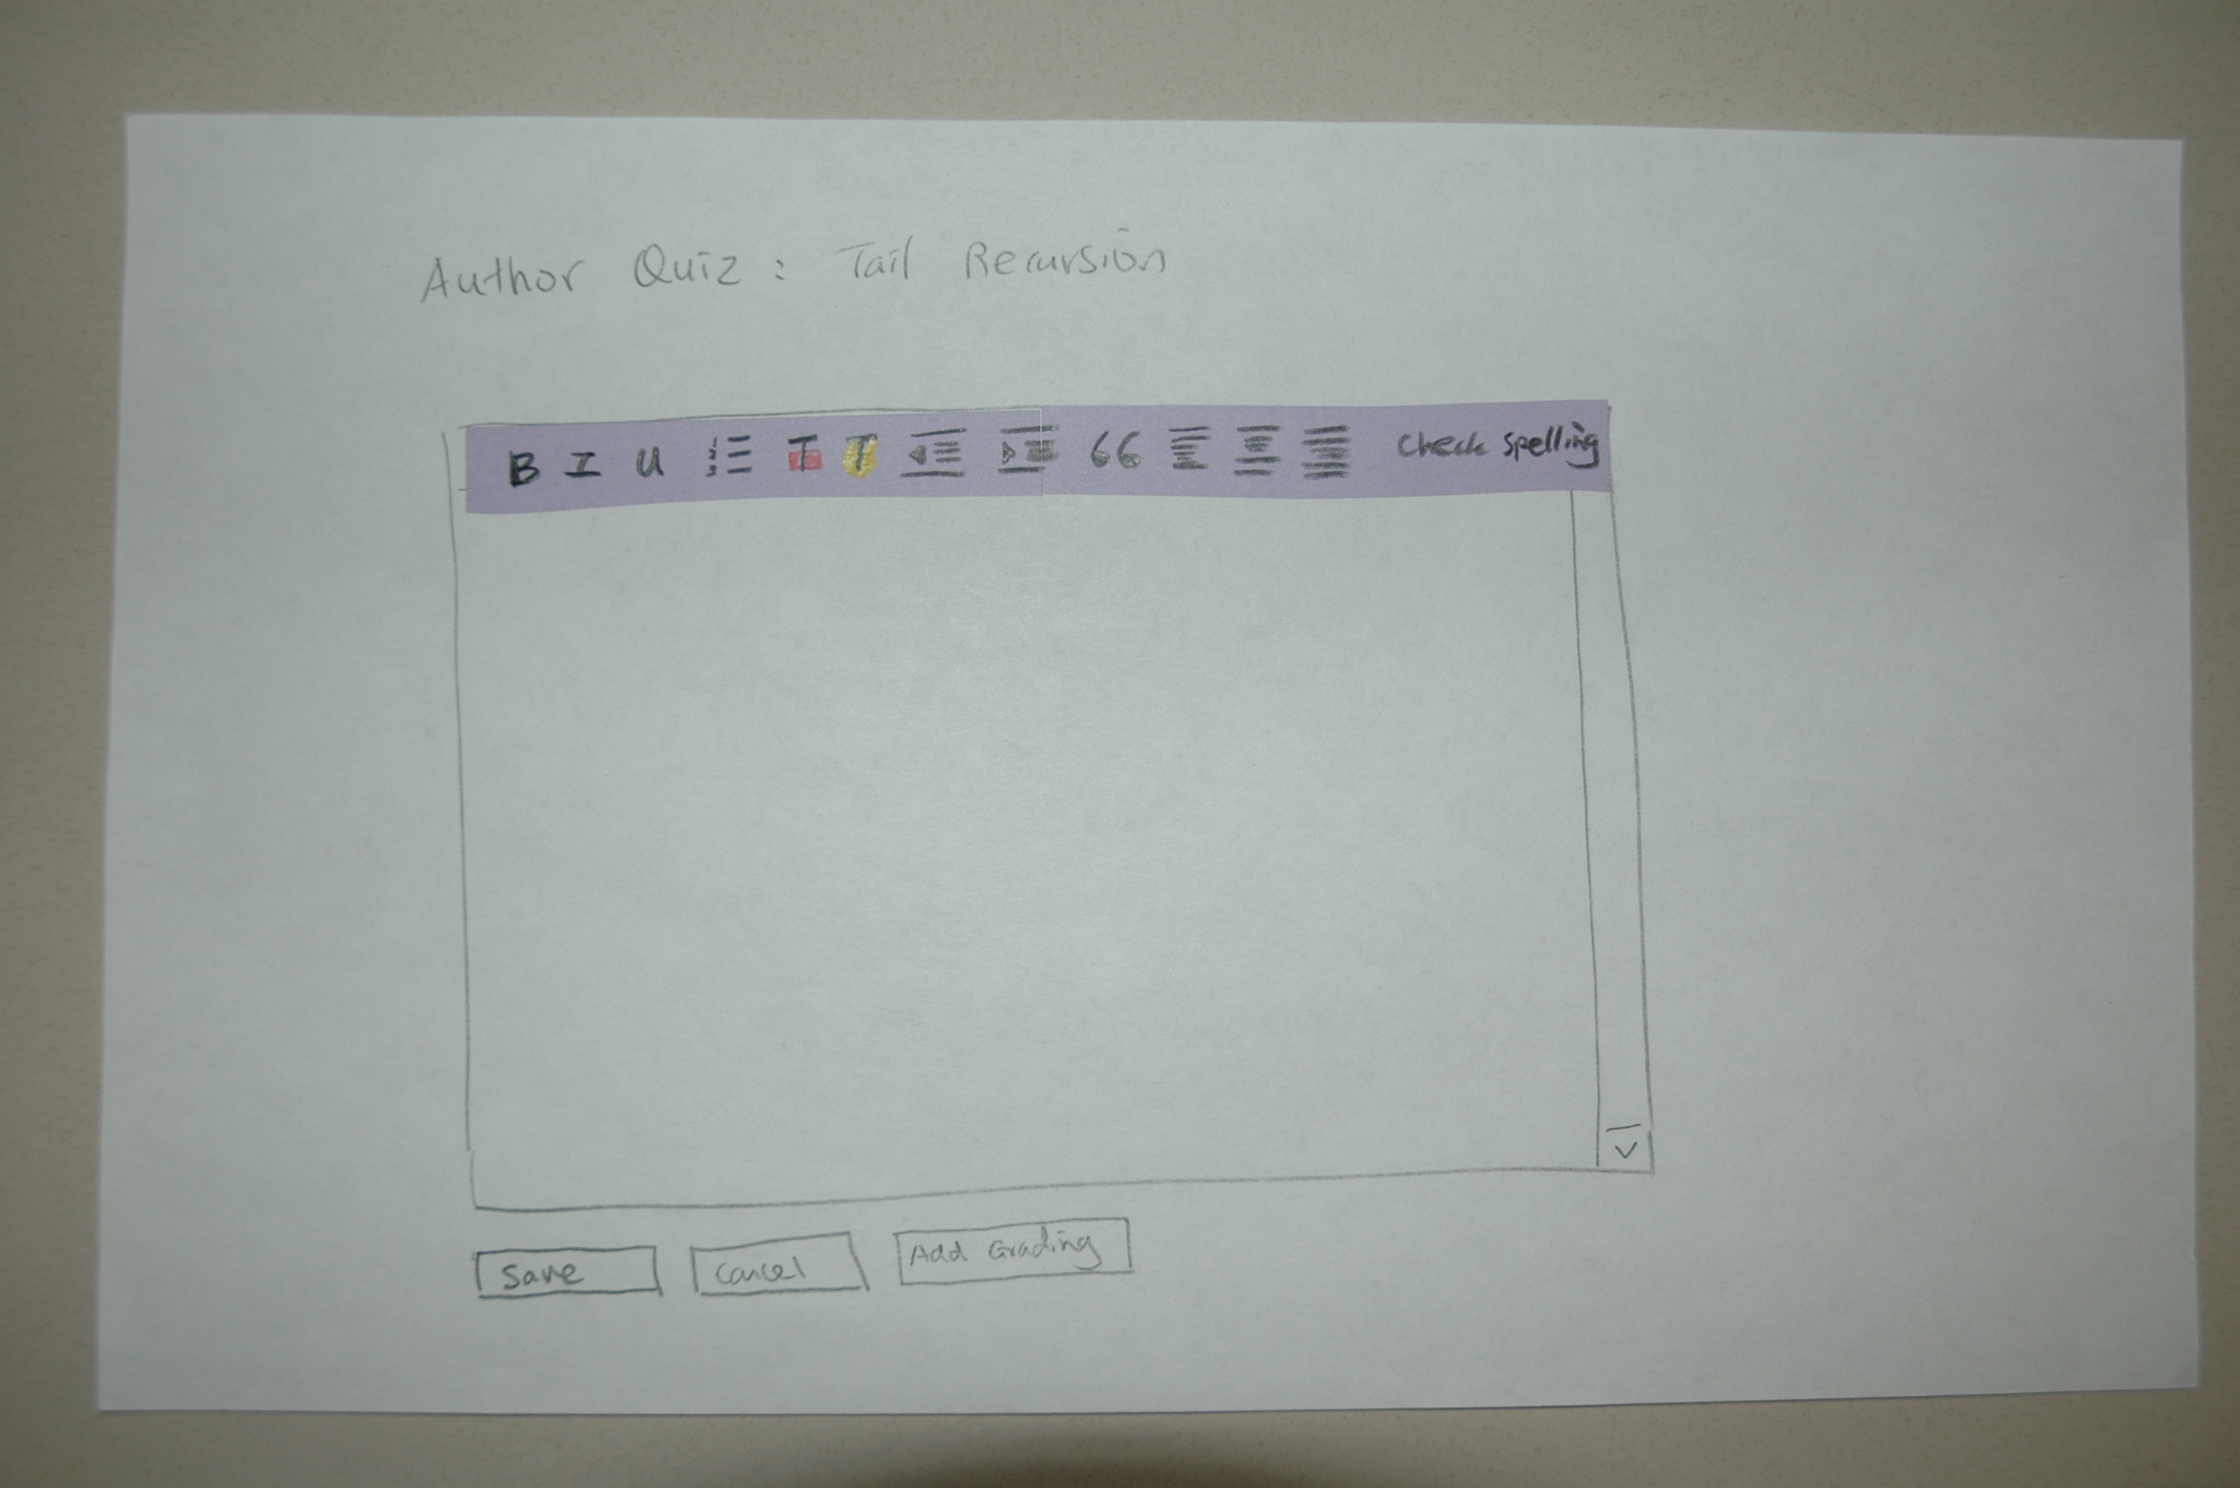
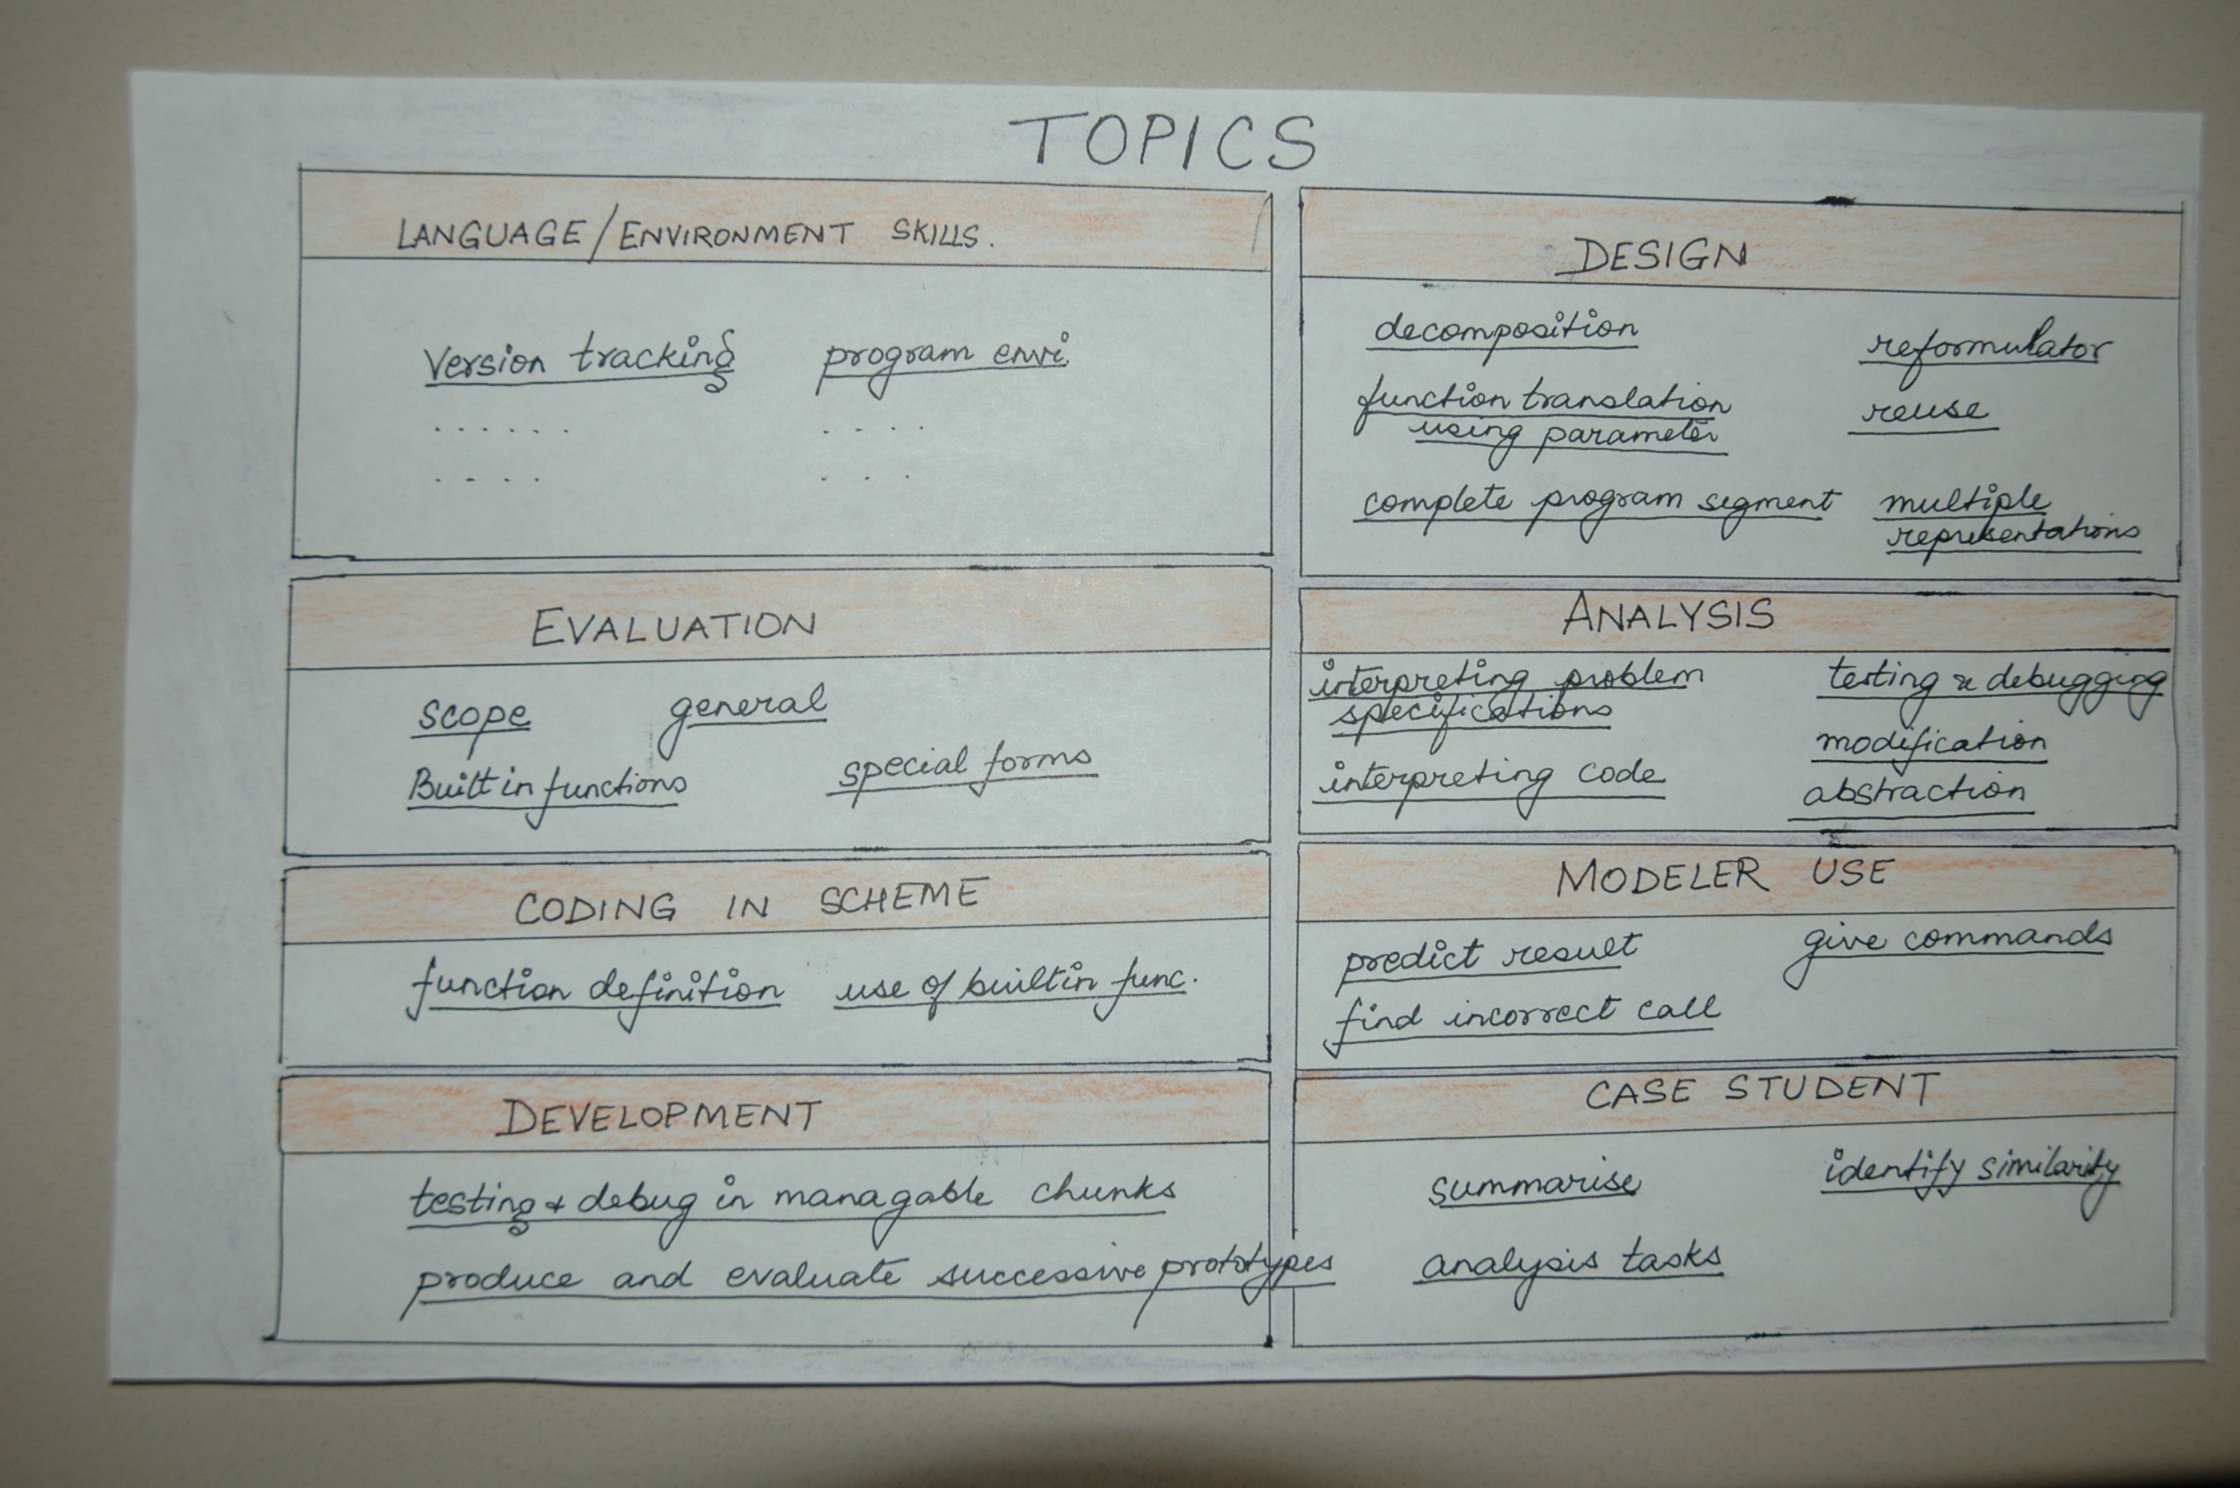 |
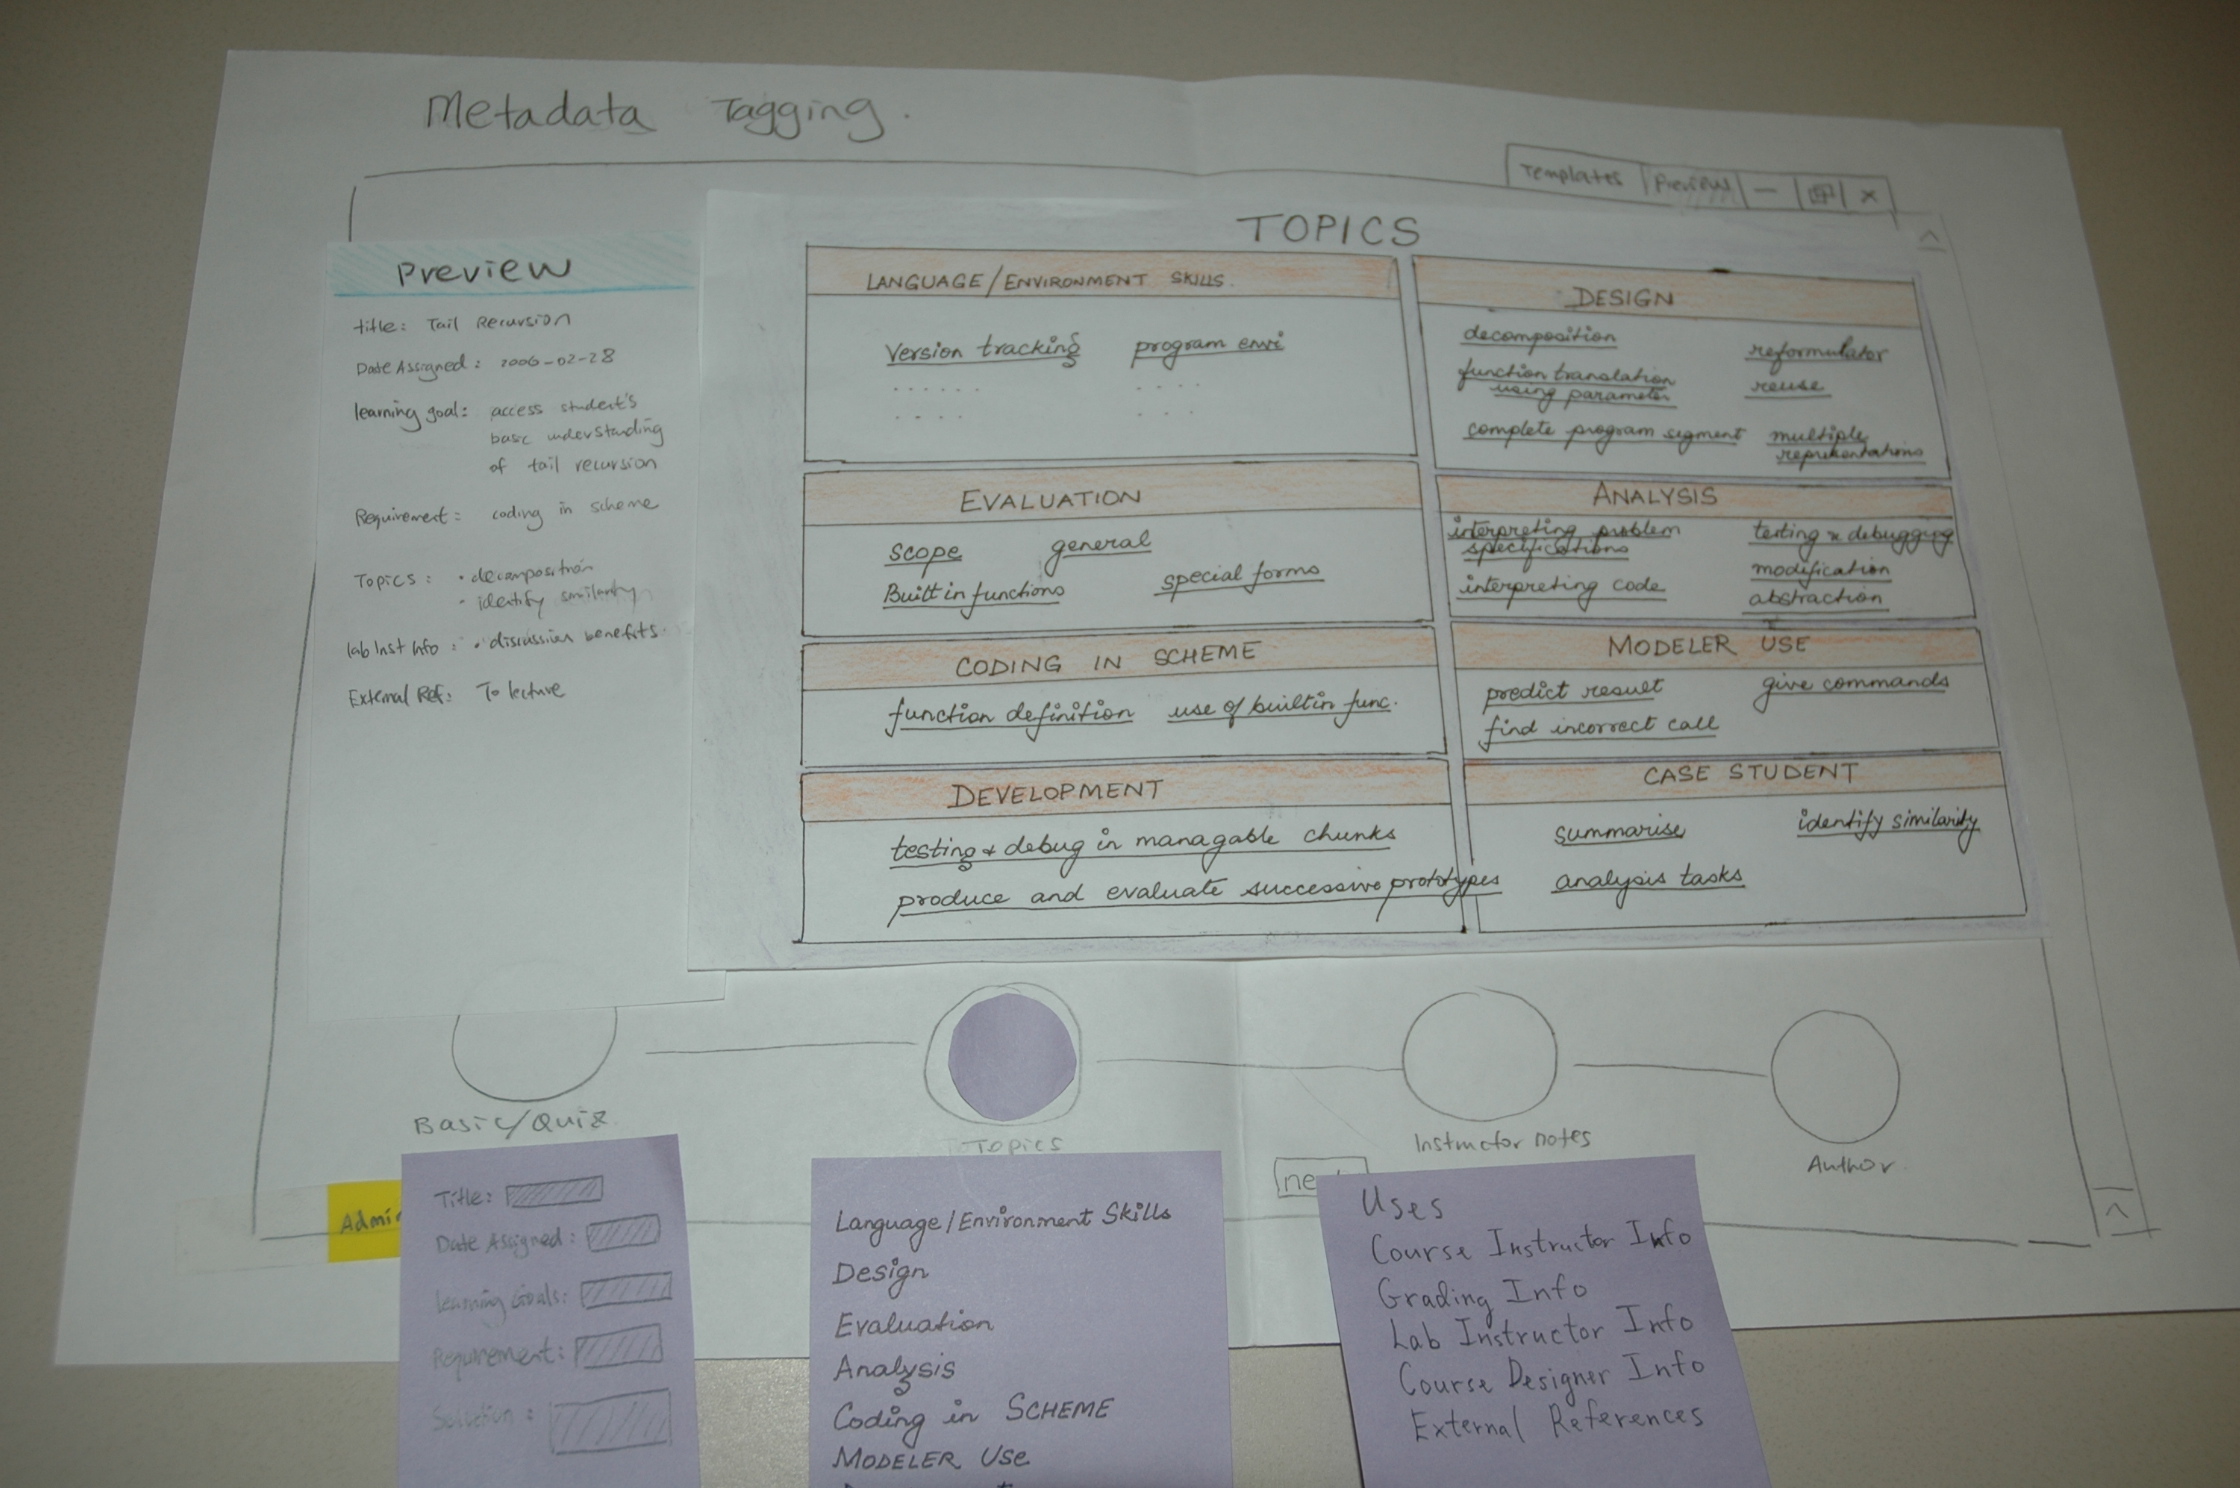
| [Figure 3]: Notice the Turbo-Tax style navigation bar. | [Figure 4]: Notice the Flamenco style browser for topics. |
 |
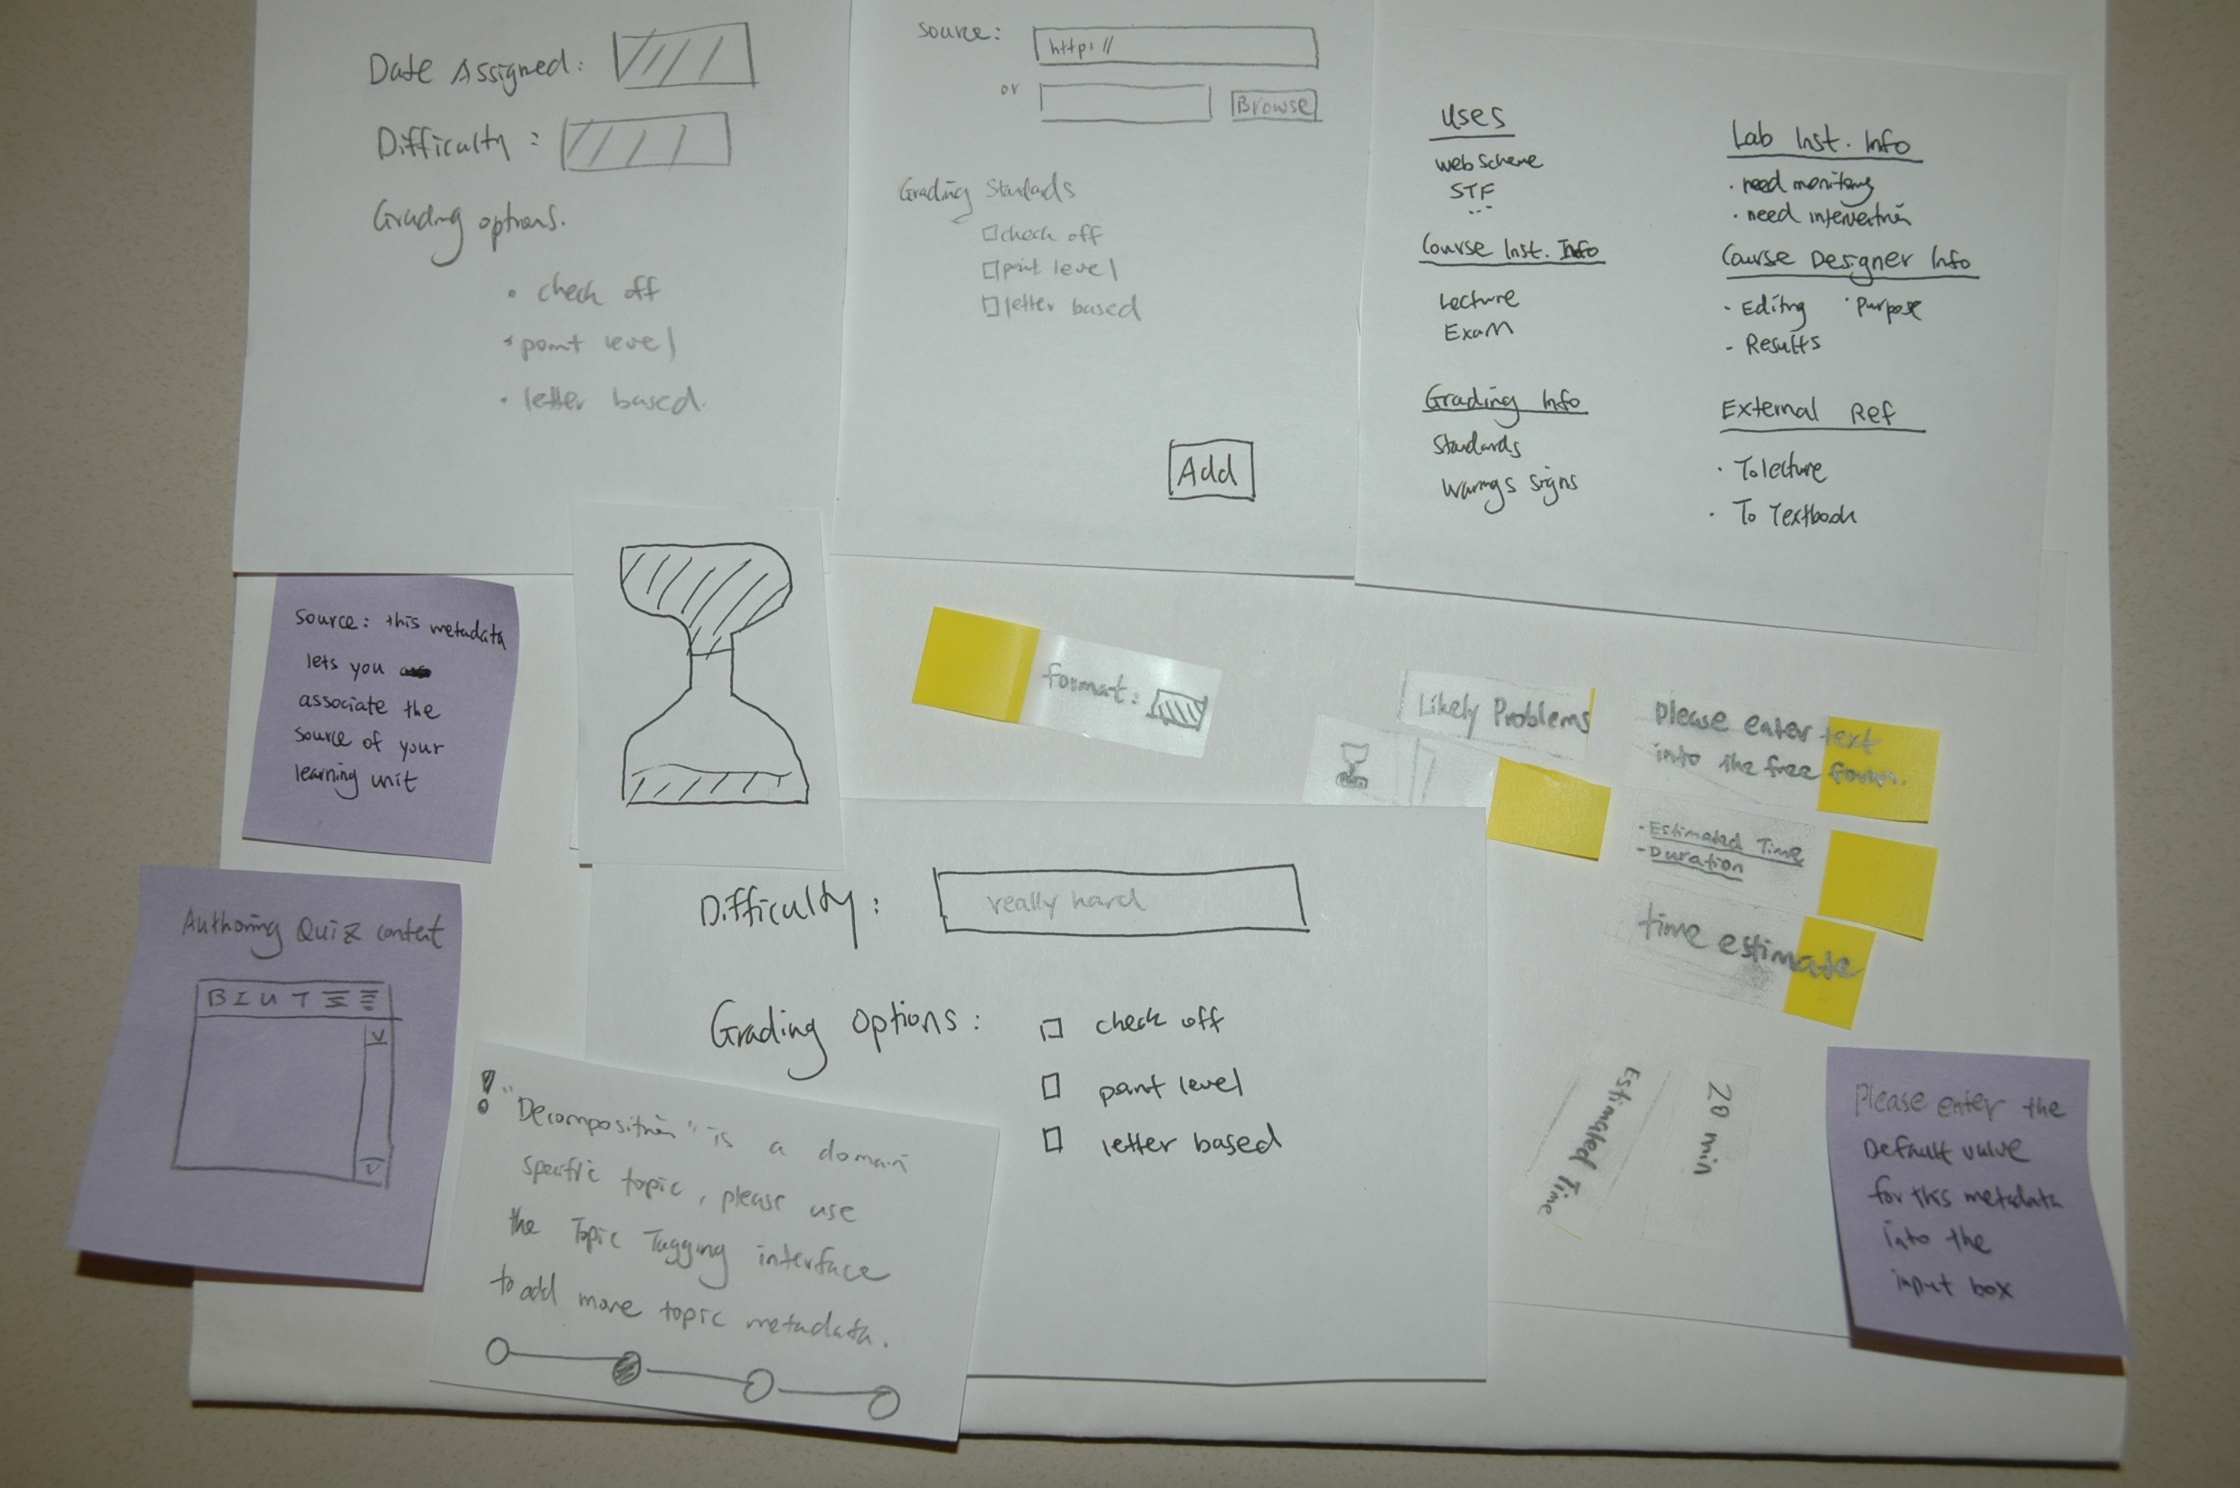
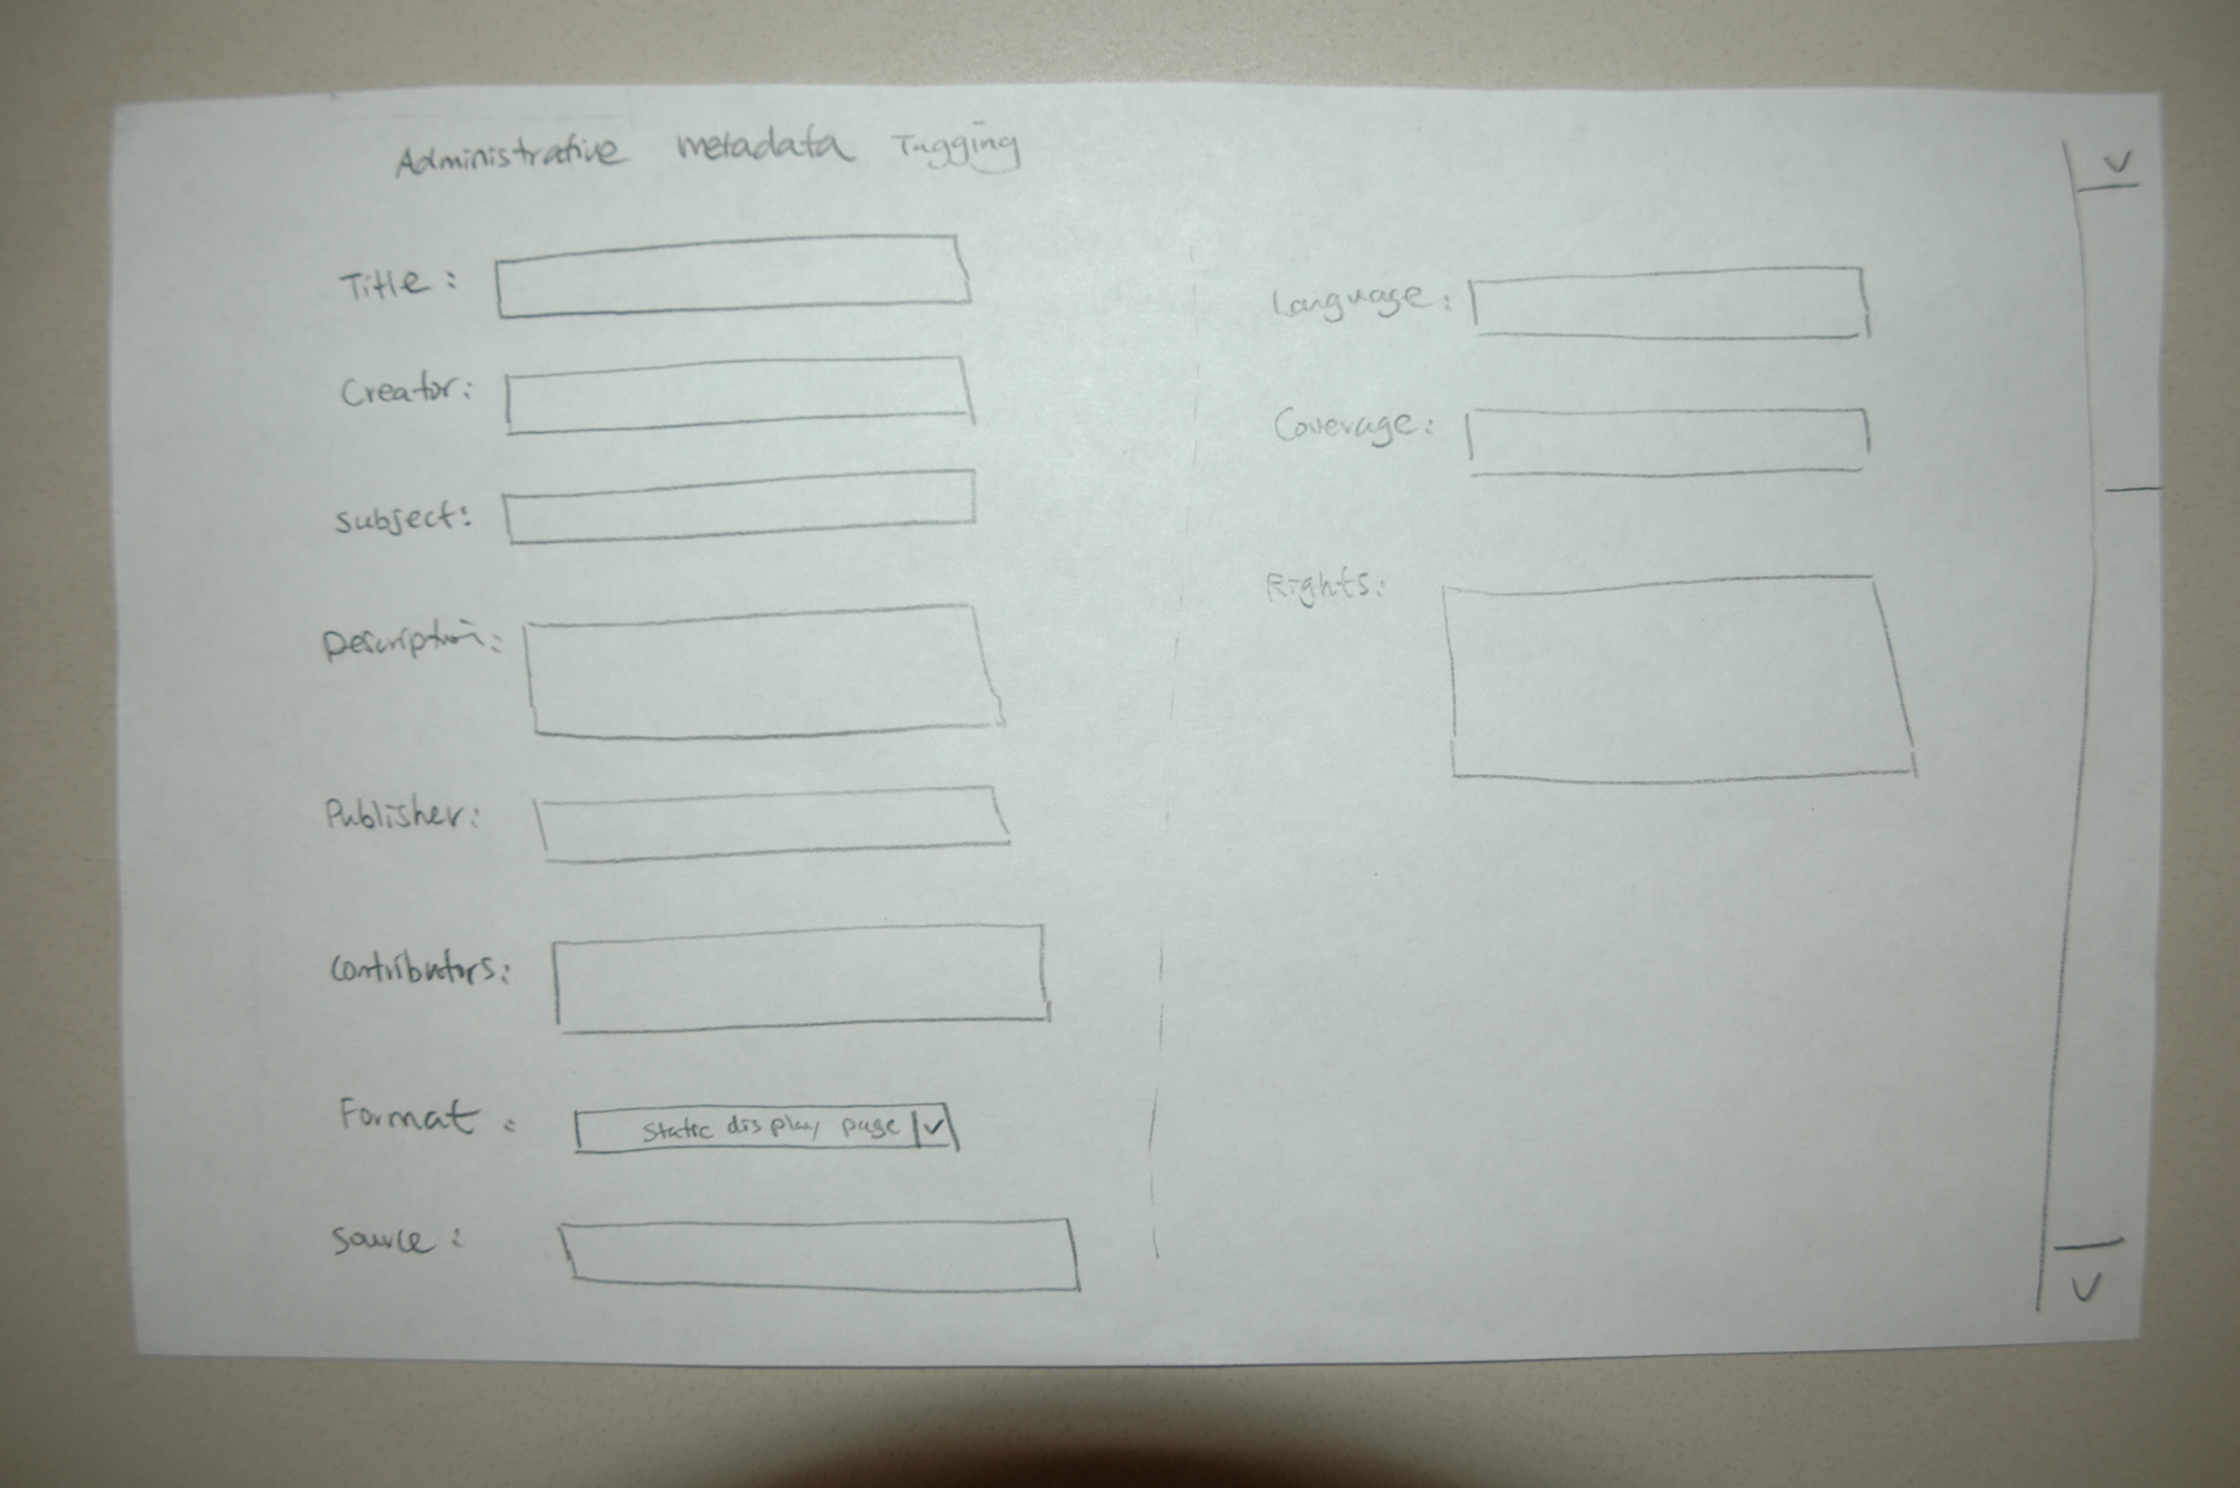 |
| [Figure 5]: The Basic Quiz Information input page. | [Figure 6]: The Administrative Metadata input page. |
 |
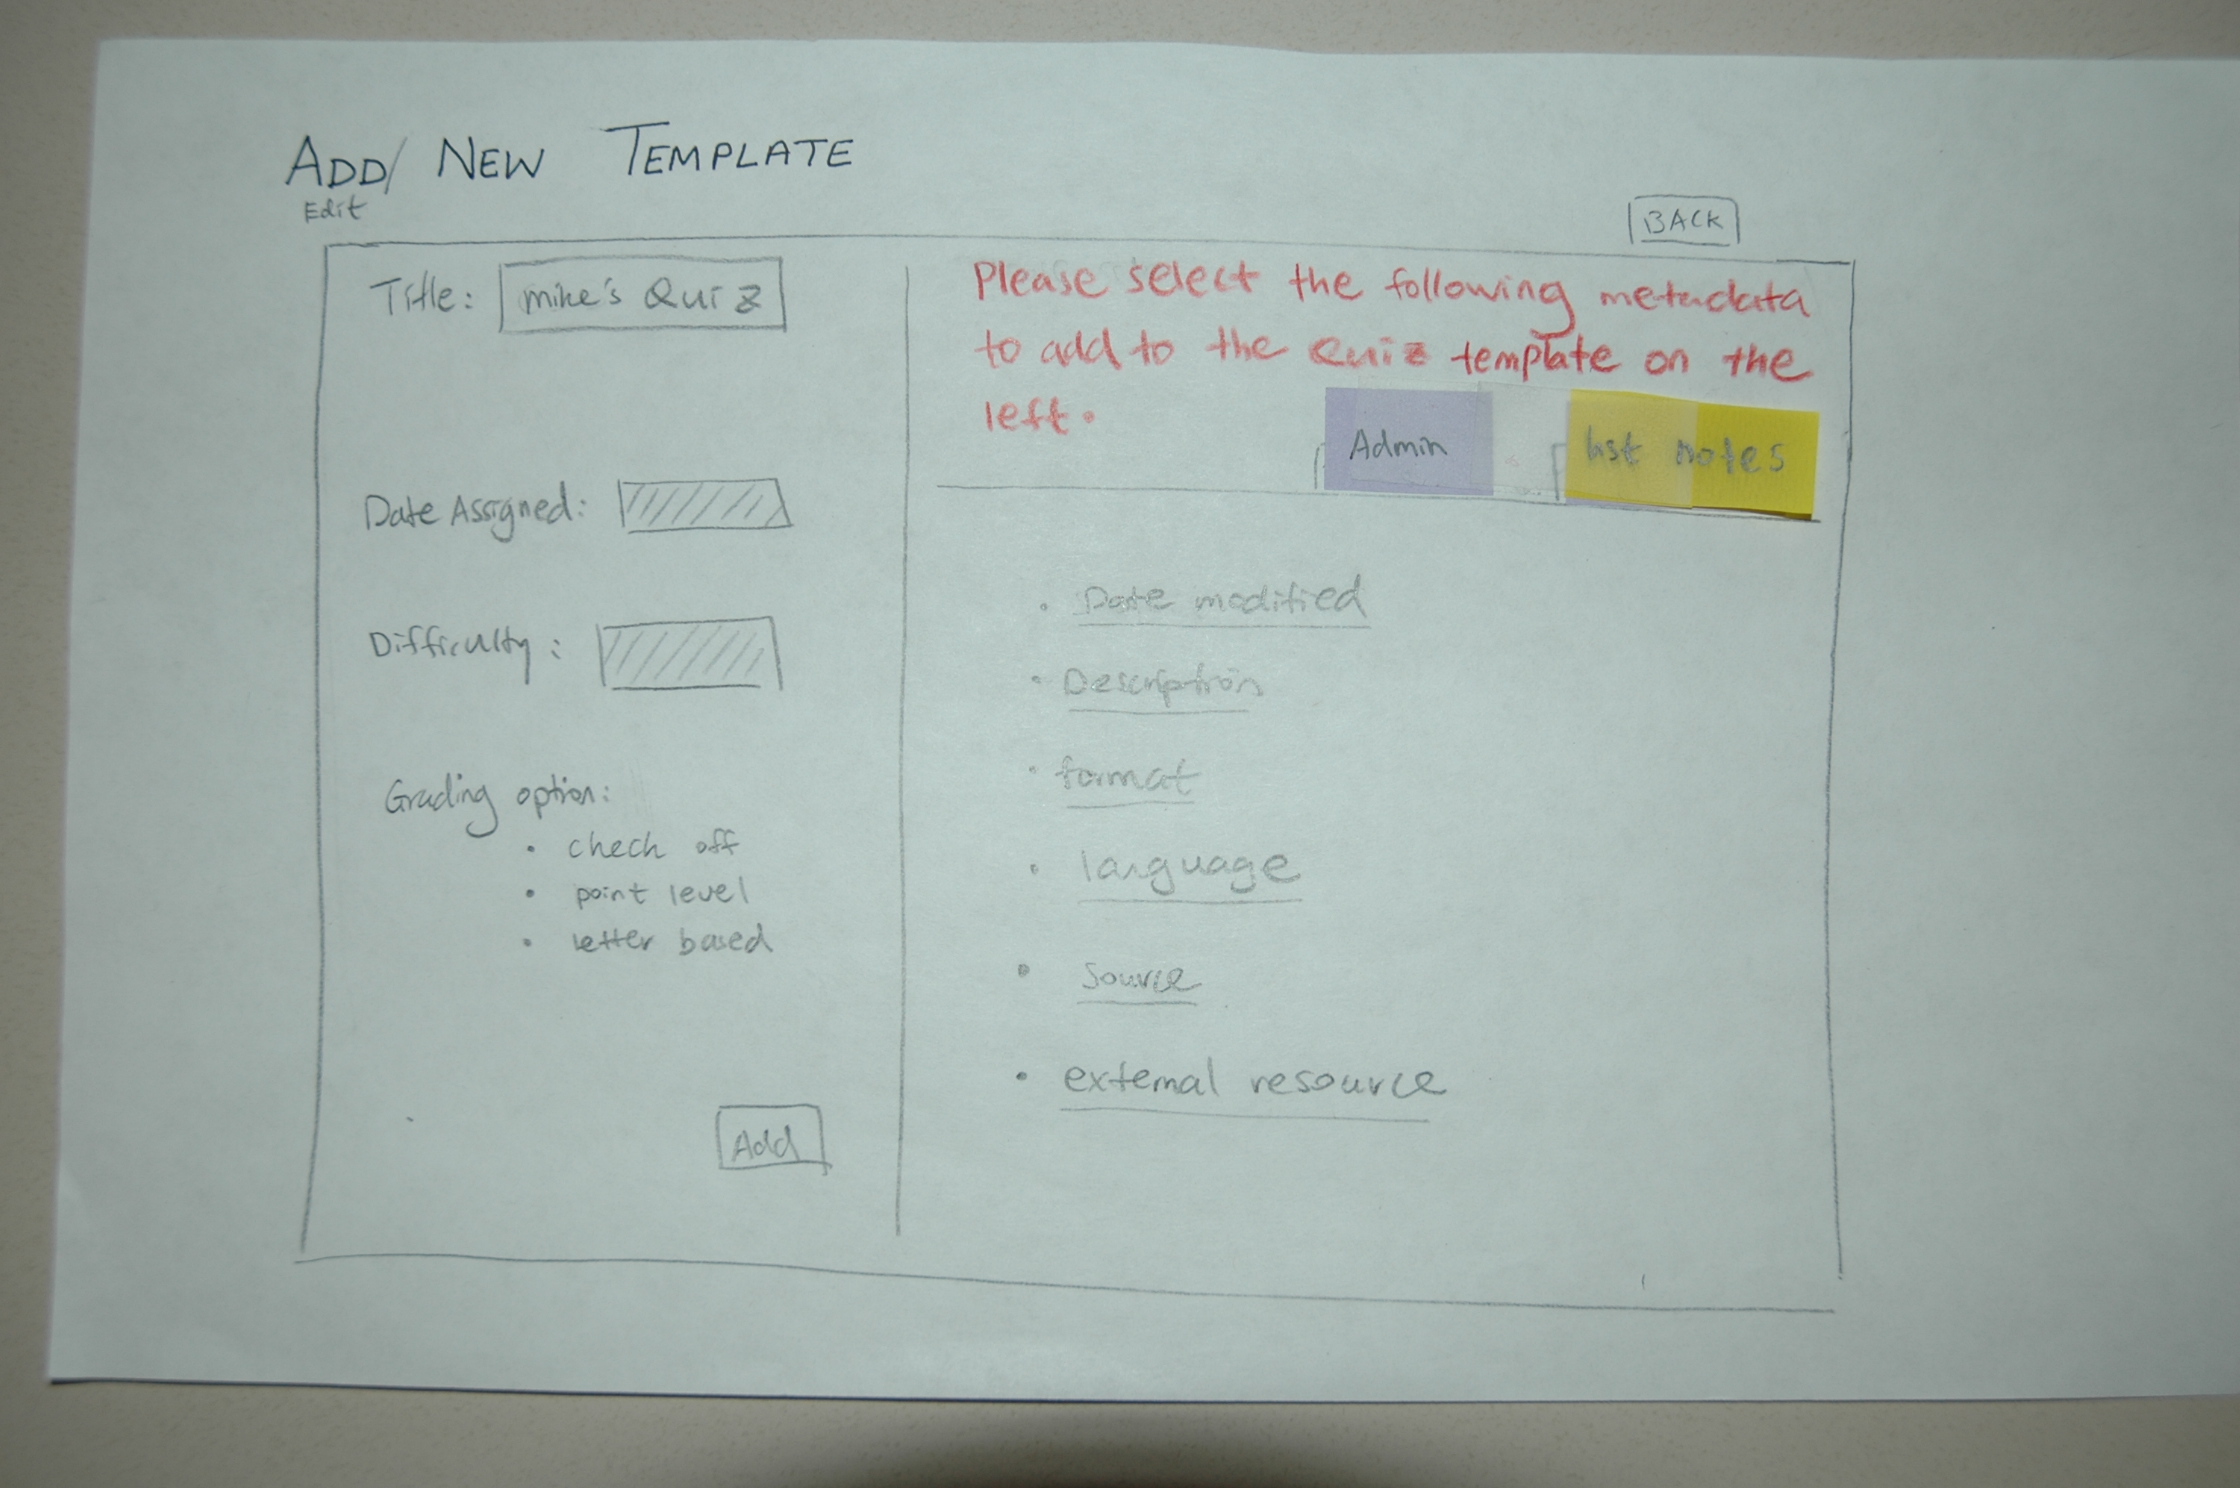 |
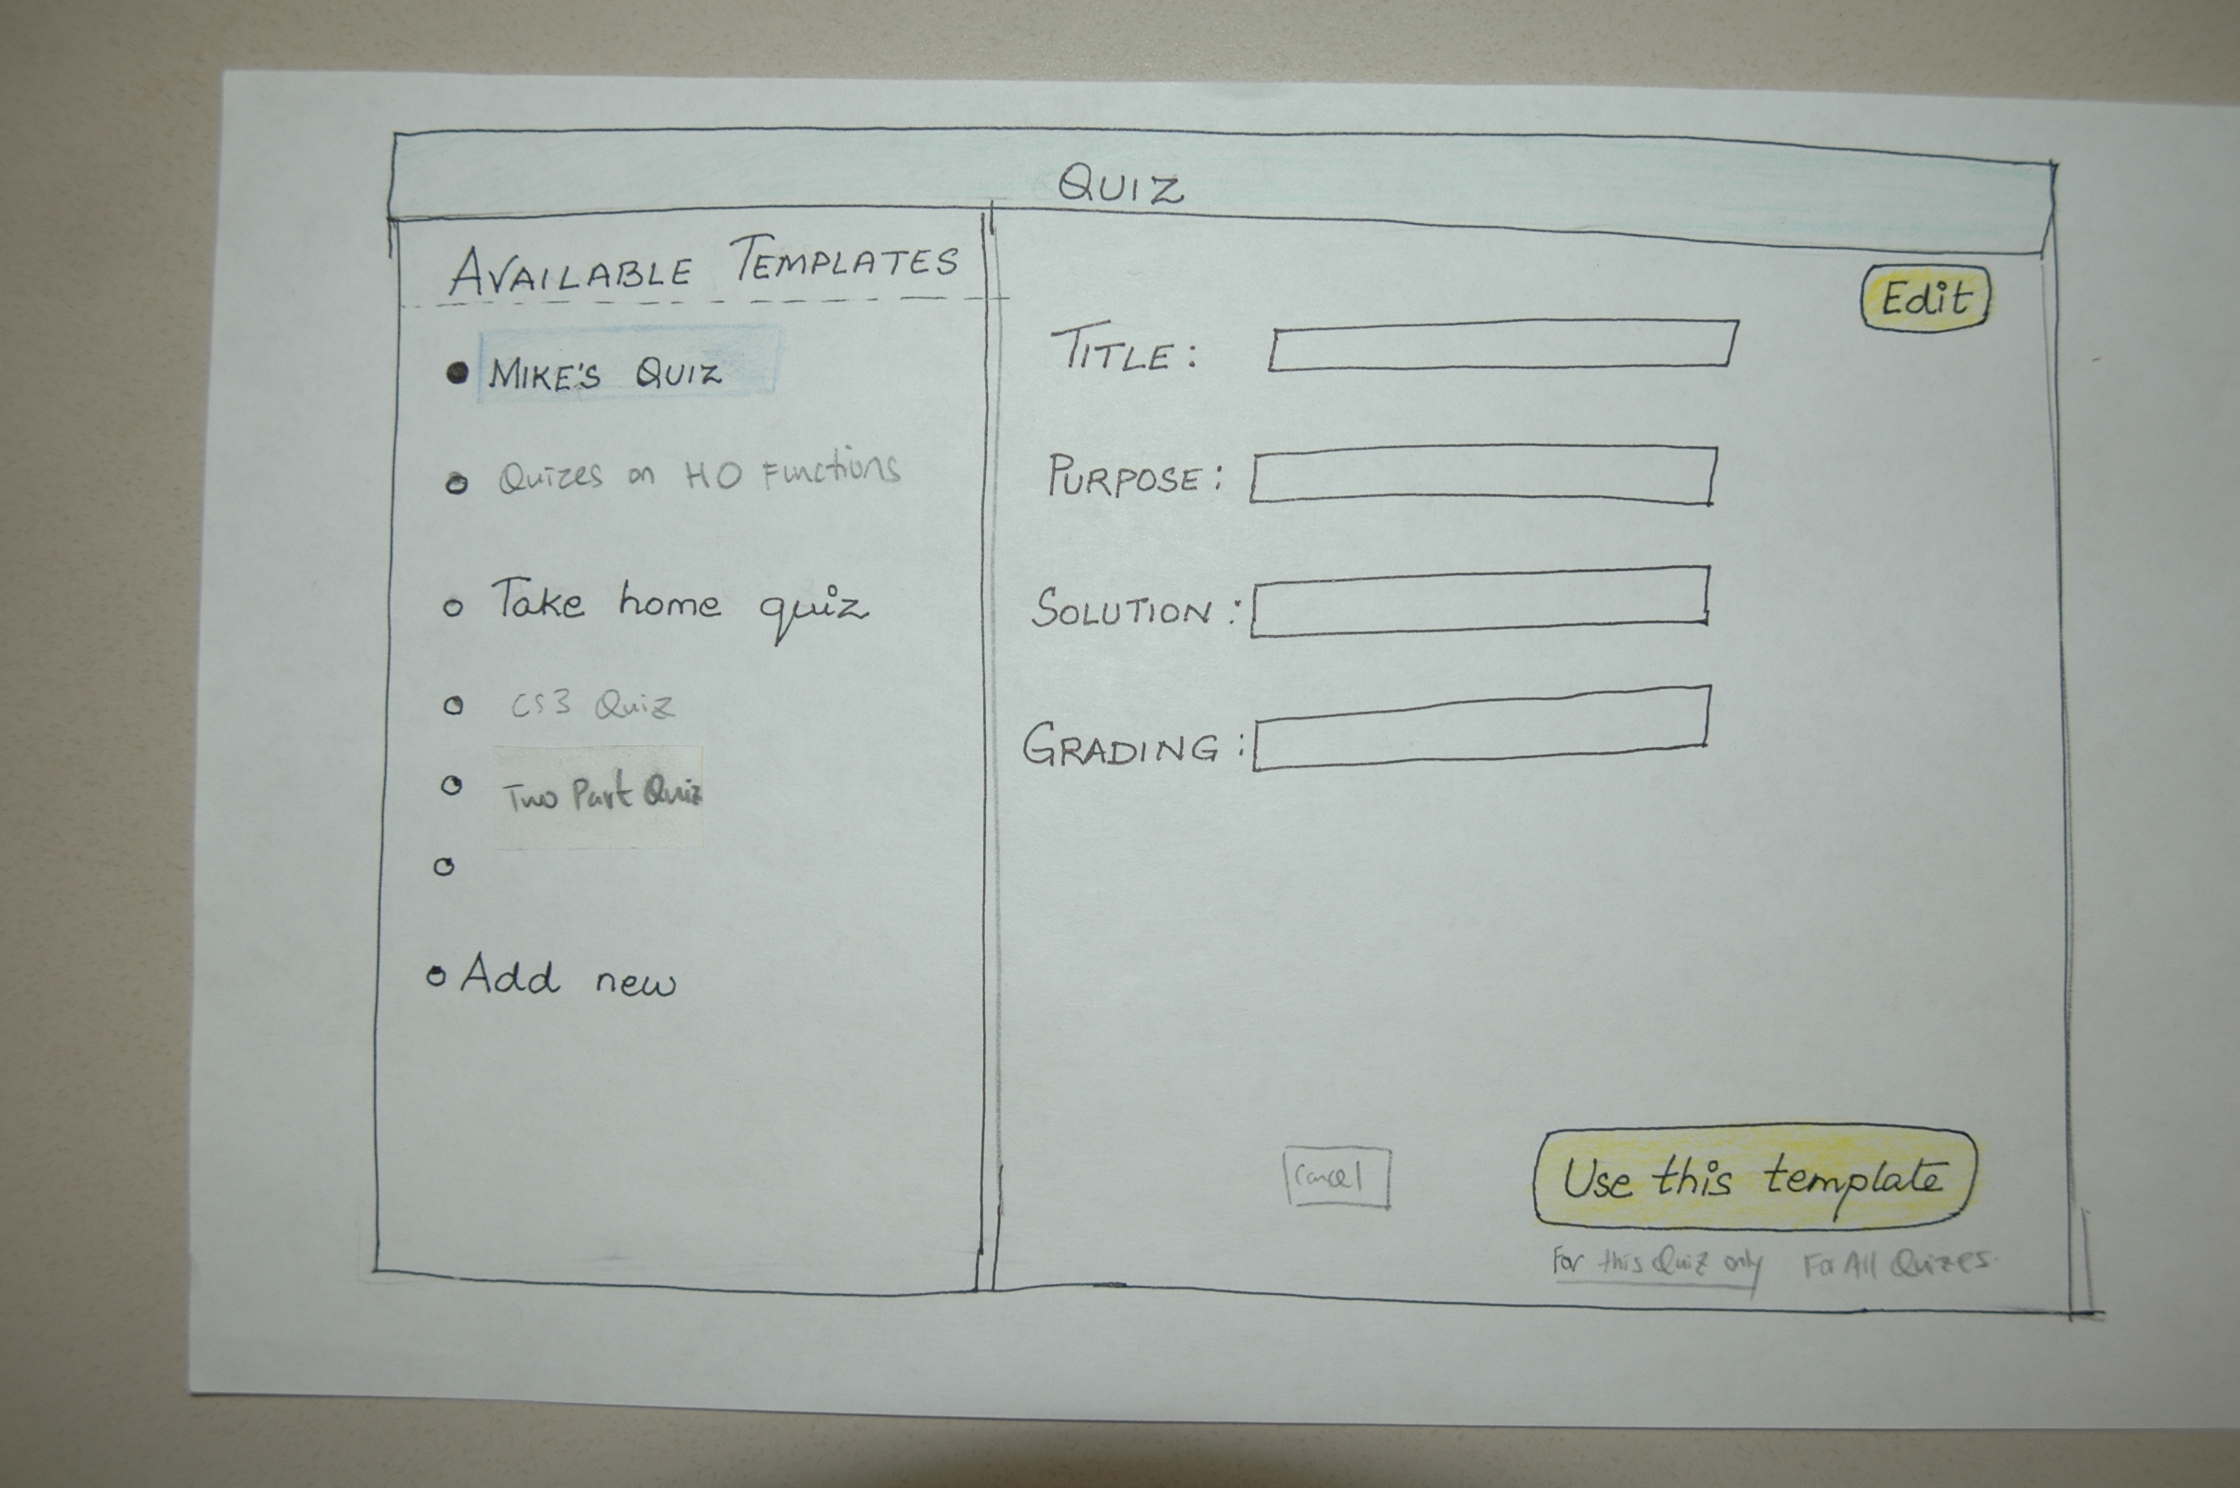
| [Figure 7]: The Metadata Templat page. | [Figure 8]: The page for adding and editing metadata template. |
 |
 |
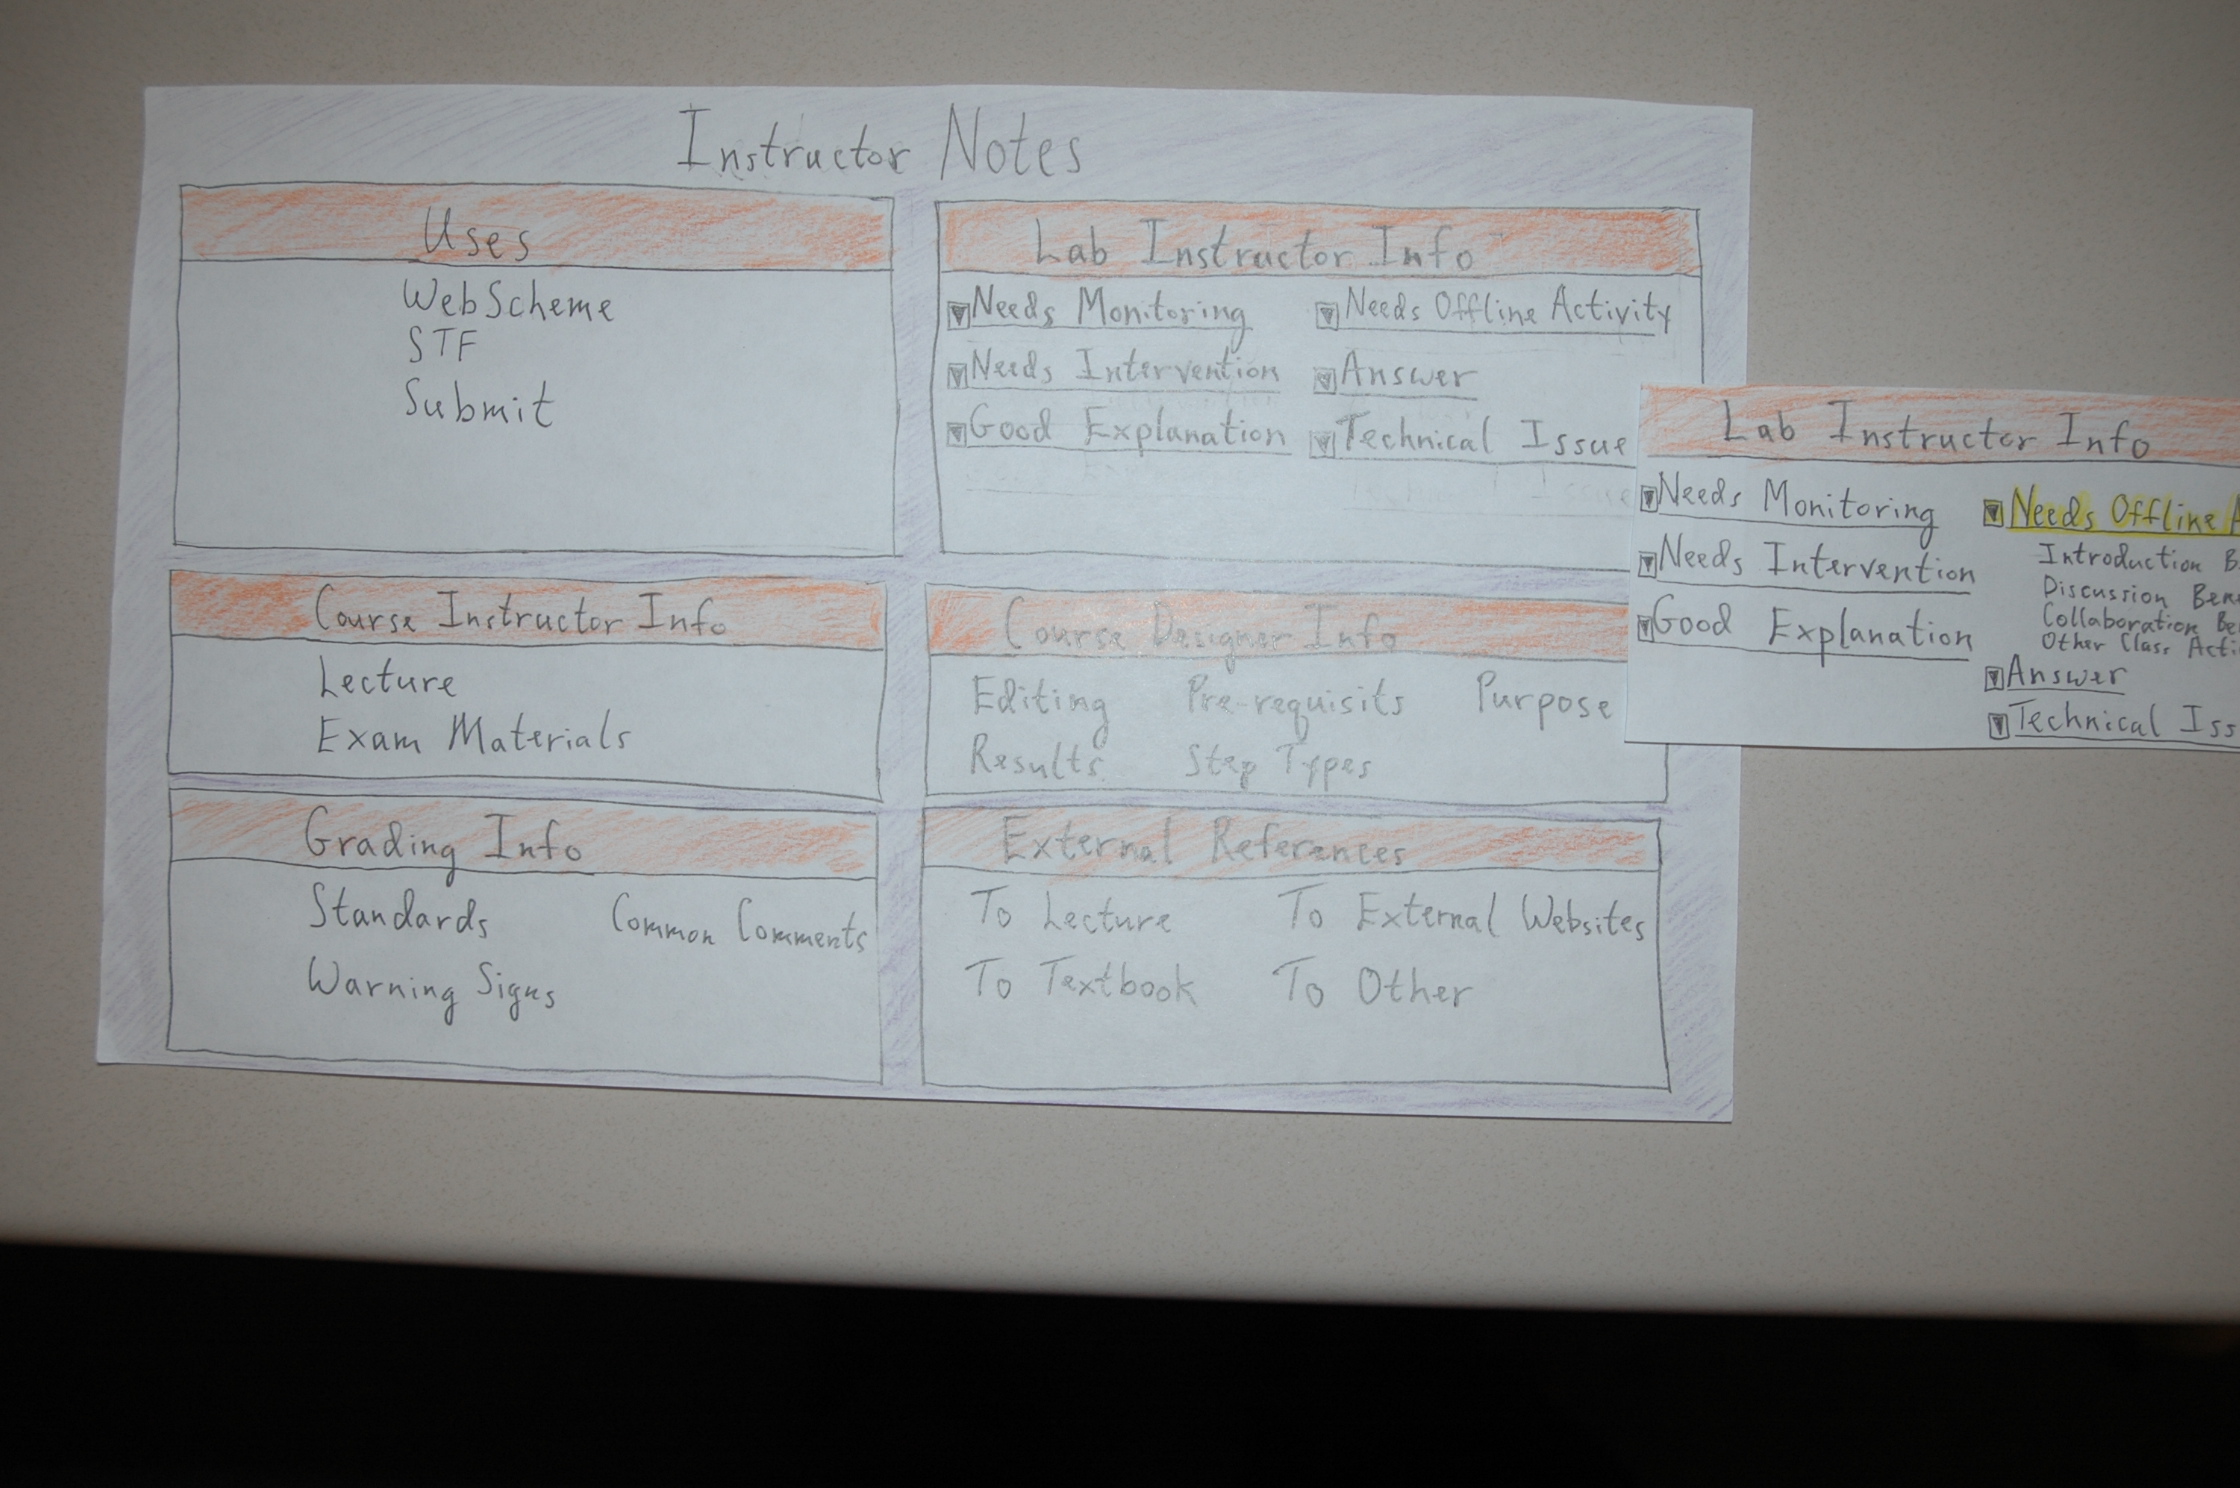
| [Figure 9]: Notice the Flamenco style browser for instructor notes related metadata. | [Figure 10]: The page for authoring a lesson unit. |
 |
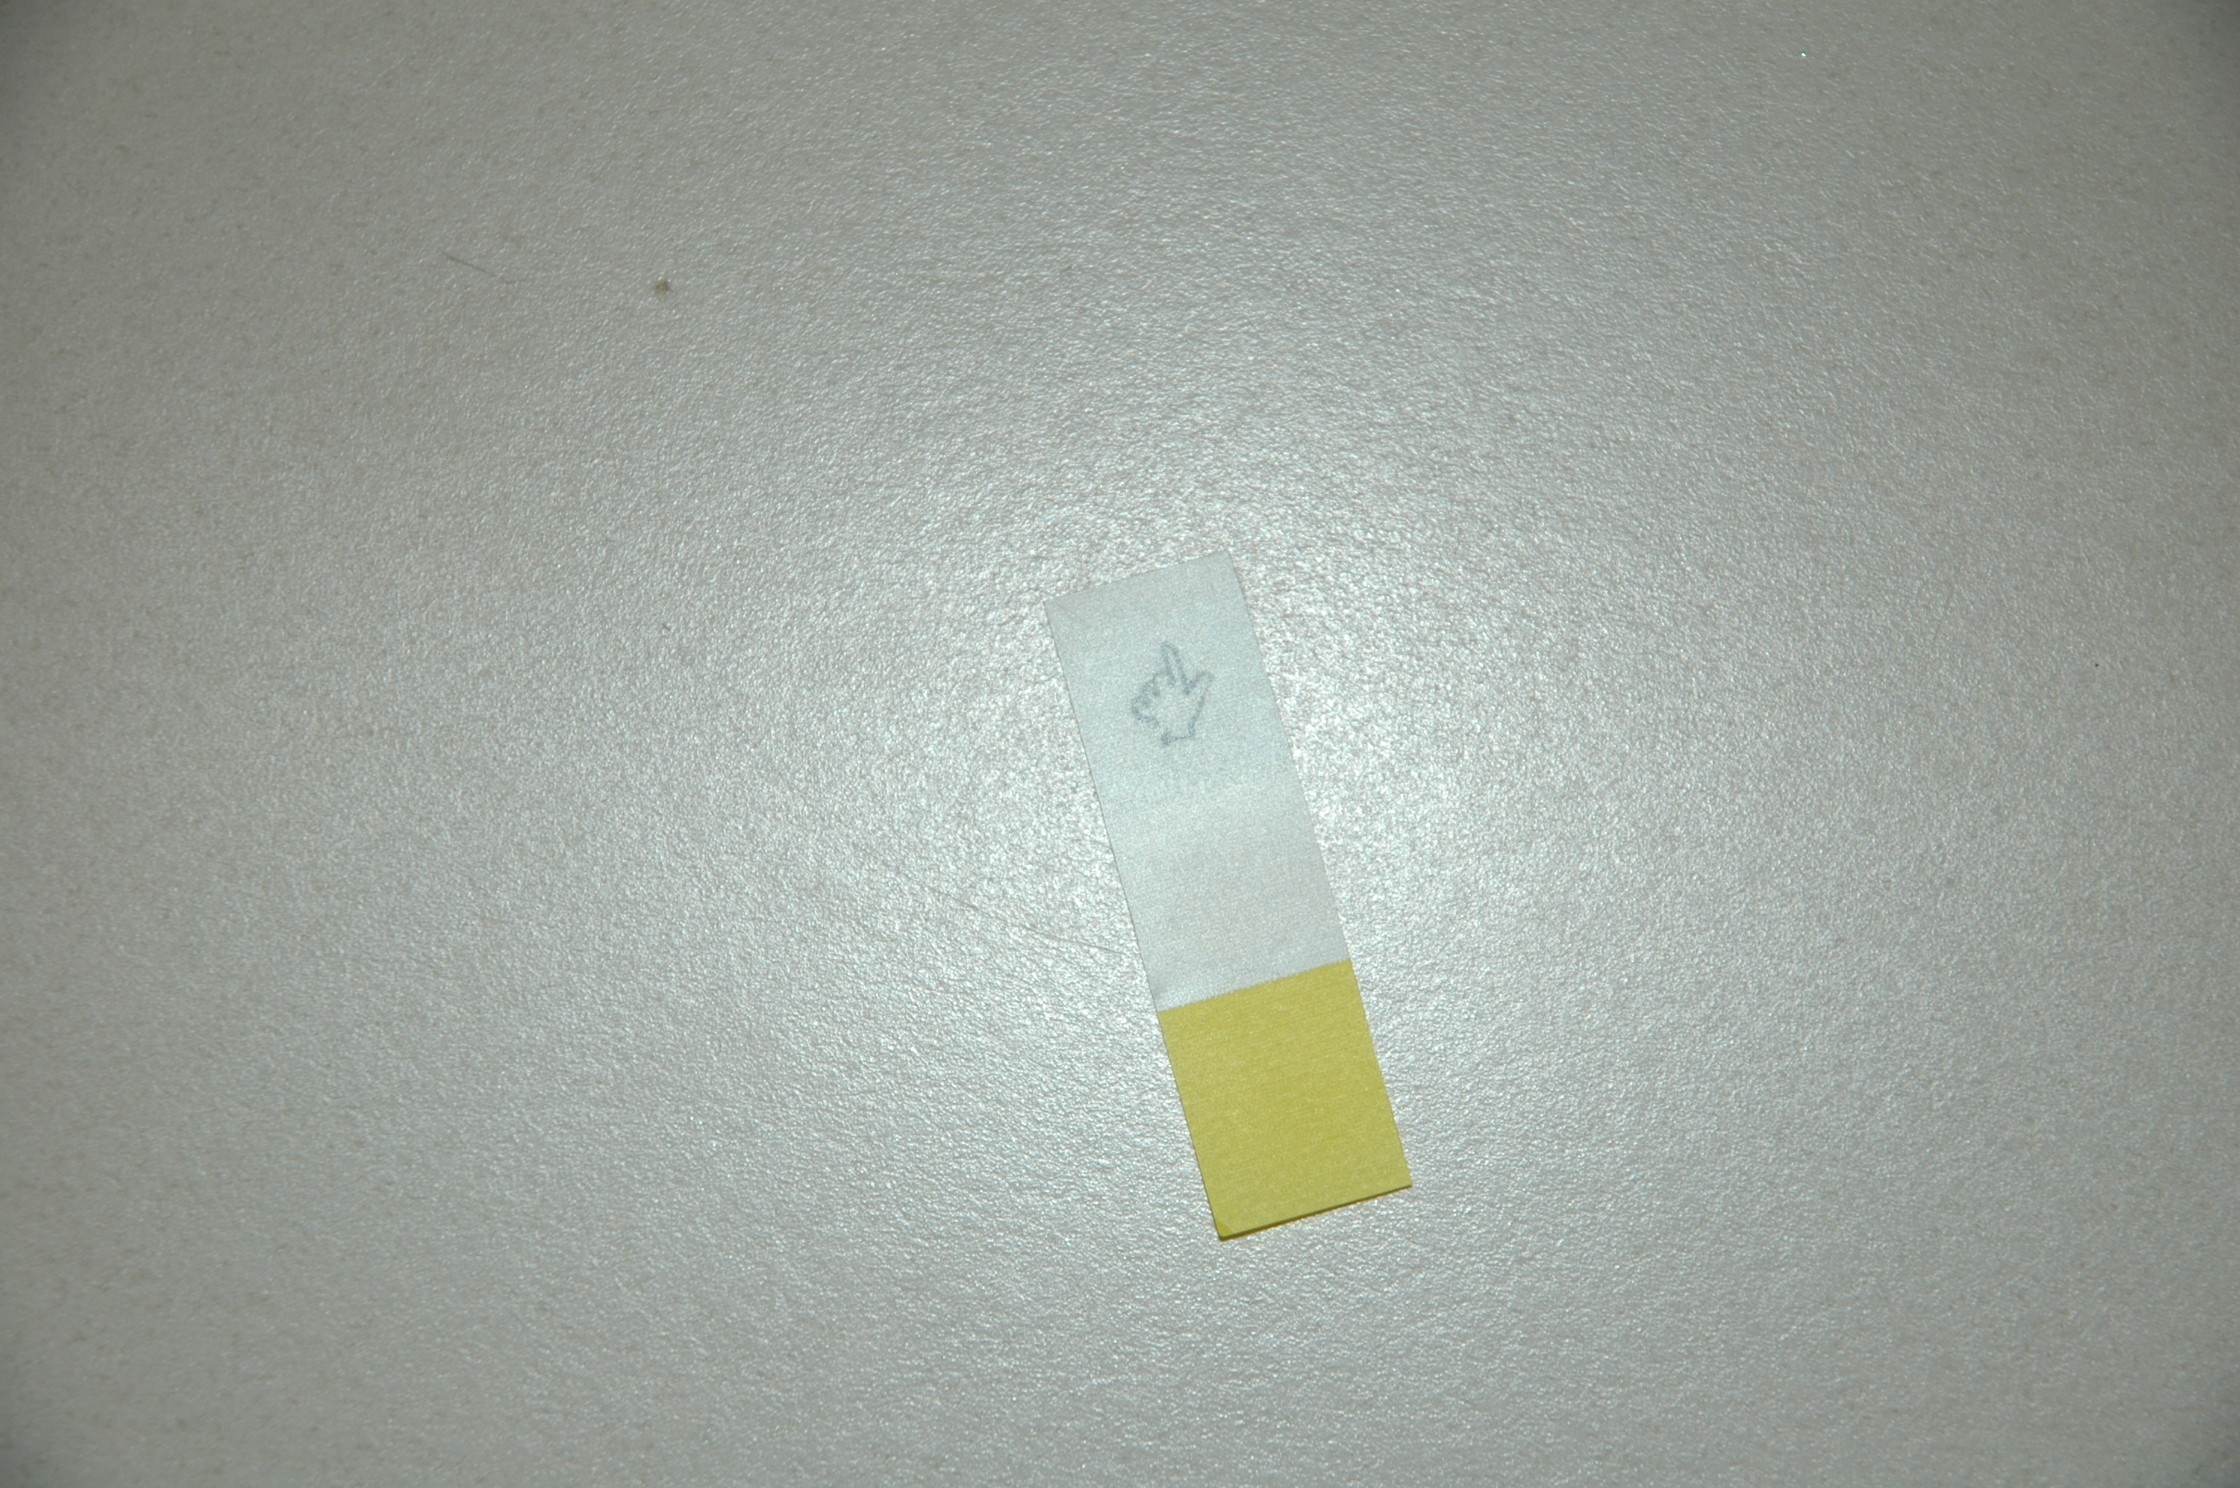 |
| [Figure 11]: The popup windows, tabs, and time filter. | [Figure 12]: The mouse pointer which reflects a clickable area. |
3. Photos of the participants and "computer"
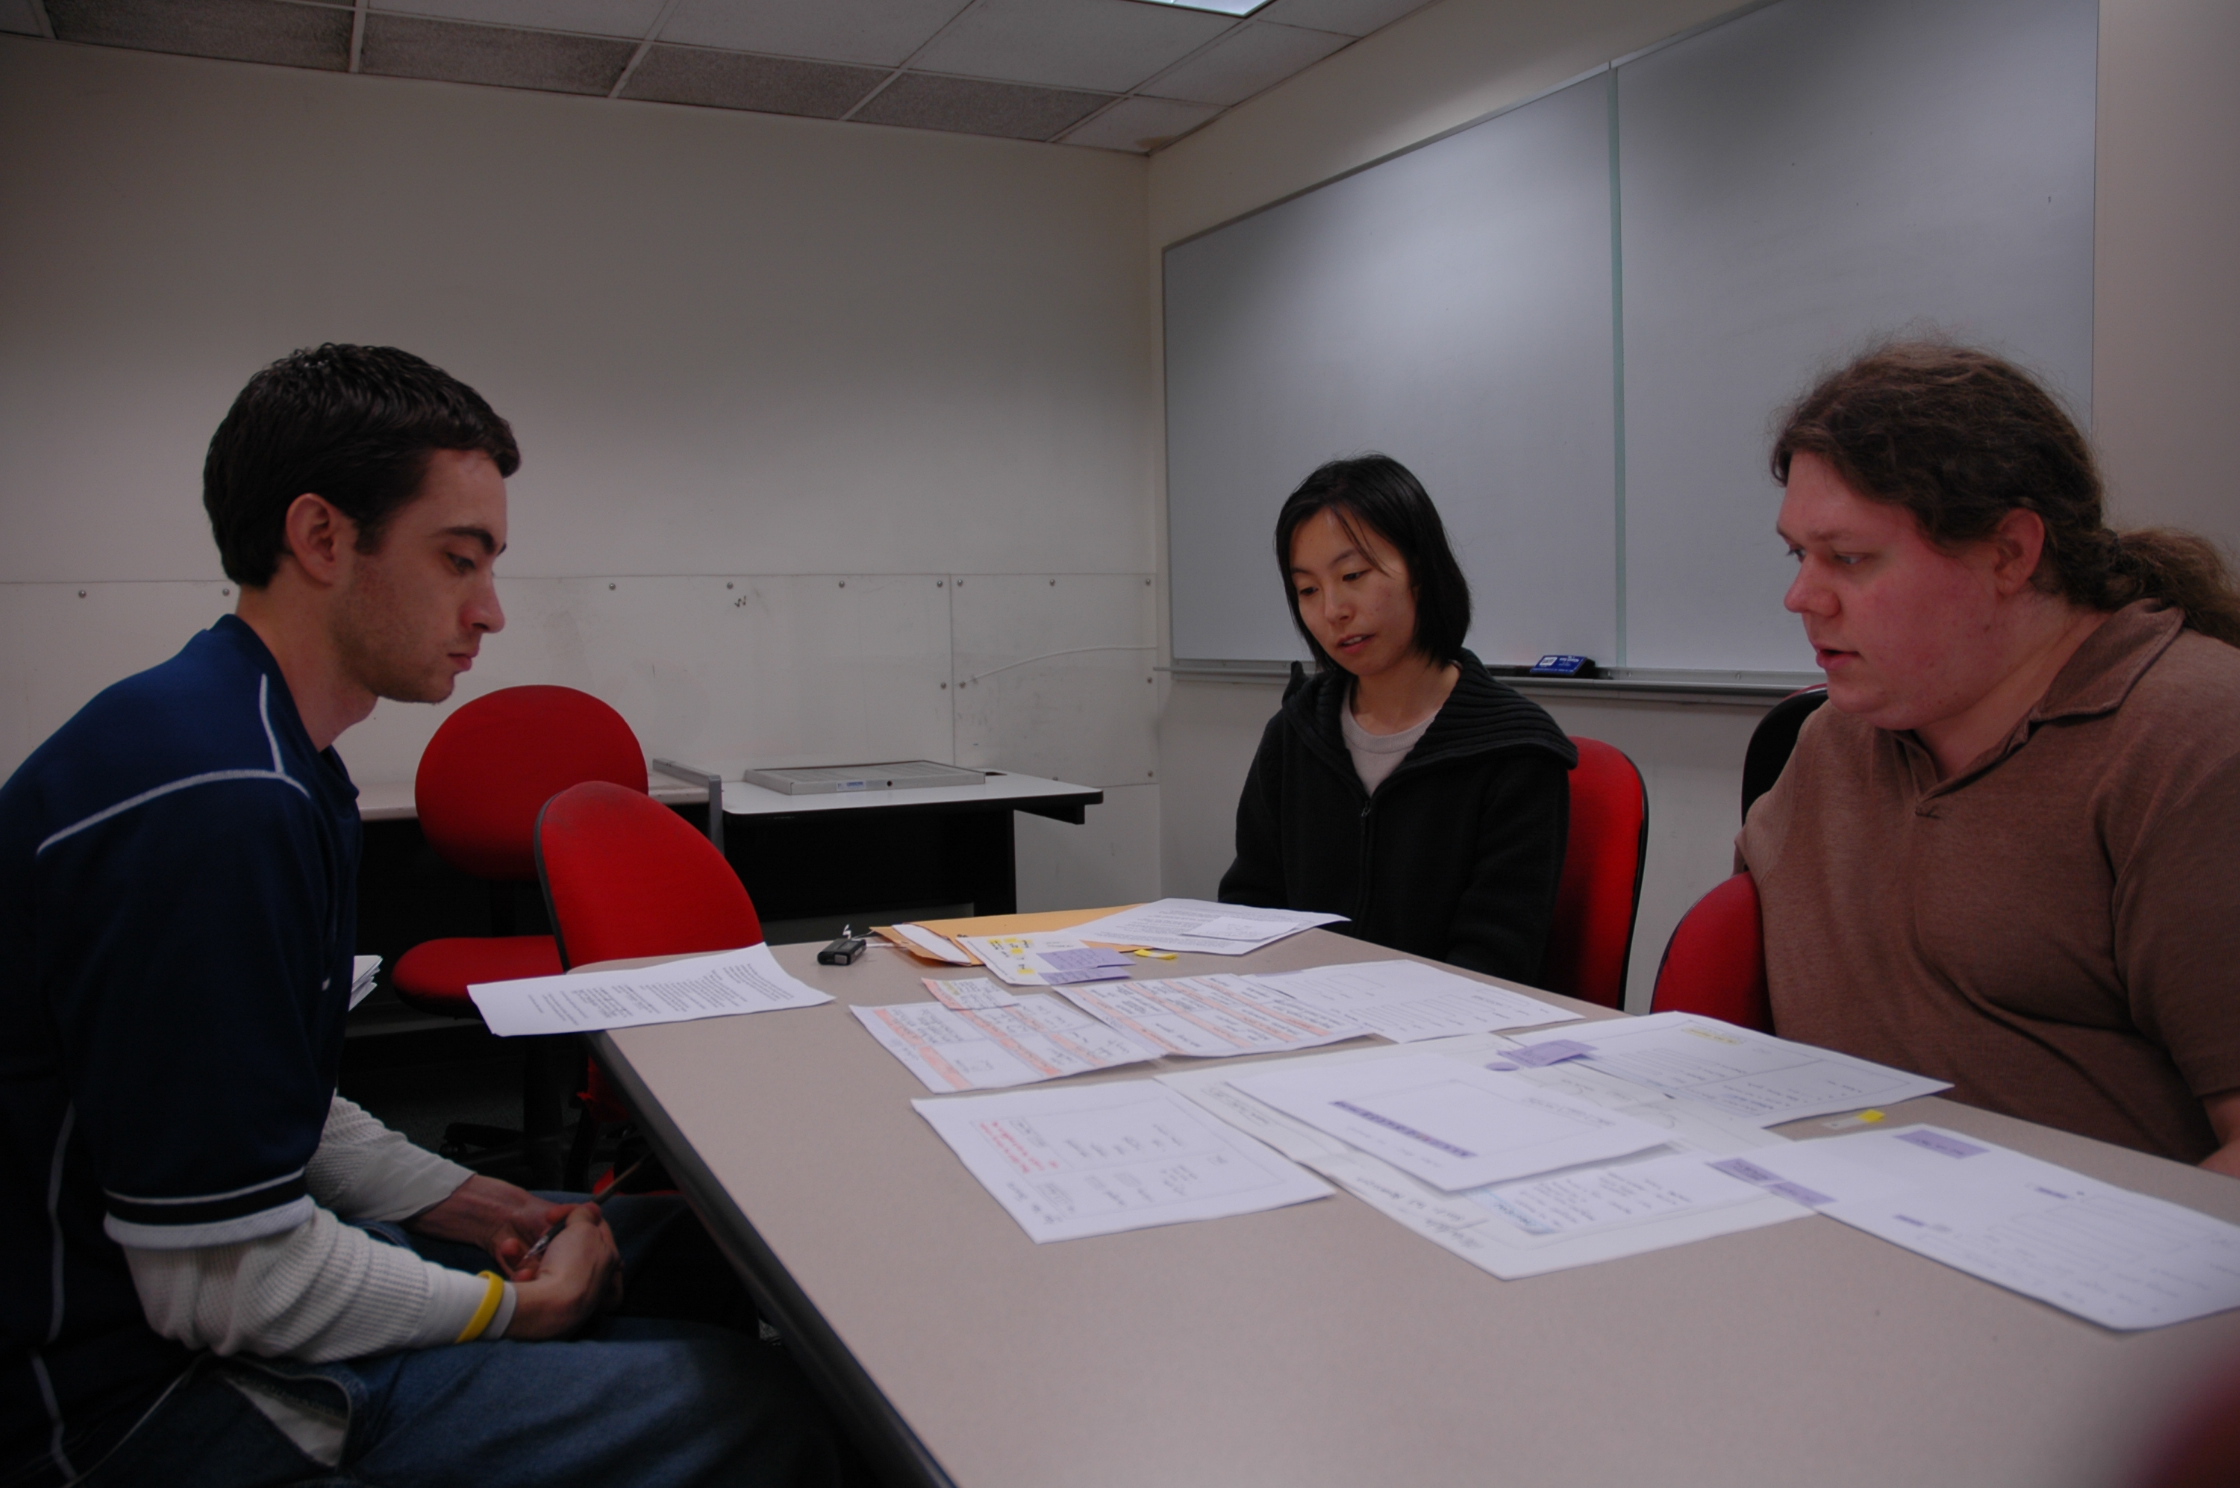 |
 |
| [Figure 13] | [Figure 14] |